
Instant messaging has become an integral part of web applications in recent years. The real-time exchange of information helps to cement the users' trust, whether they are customers, merchants, or other stakeholders. This technology has become ubiquitous across many industries, including virtual events, healthcare, and education.
However, the complexity surrounding proper in-house implementation was an obstacle until the introduction of real-time communication APIs like Stream.
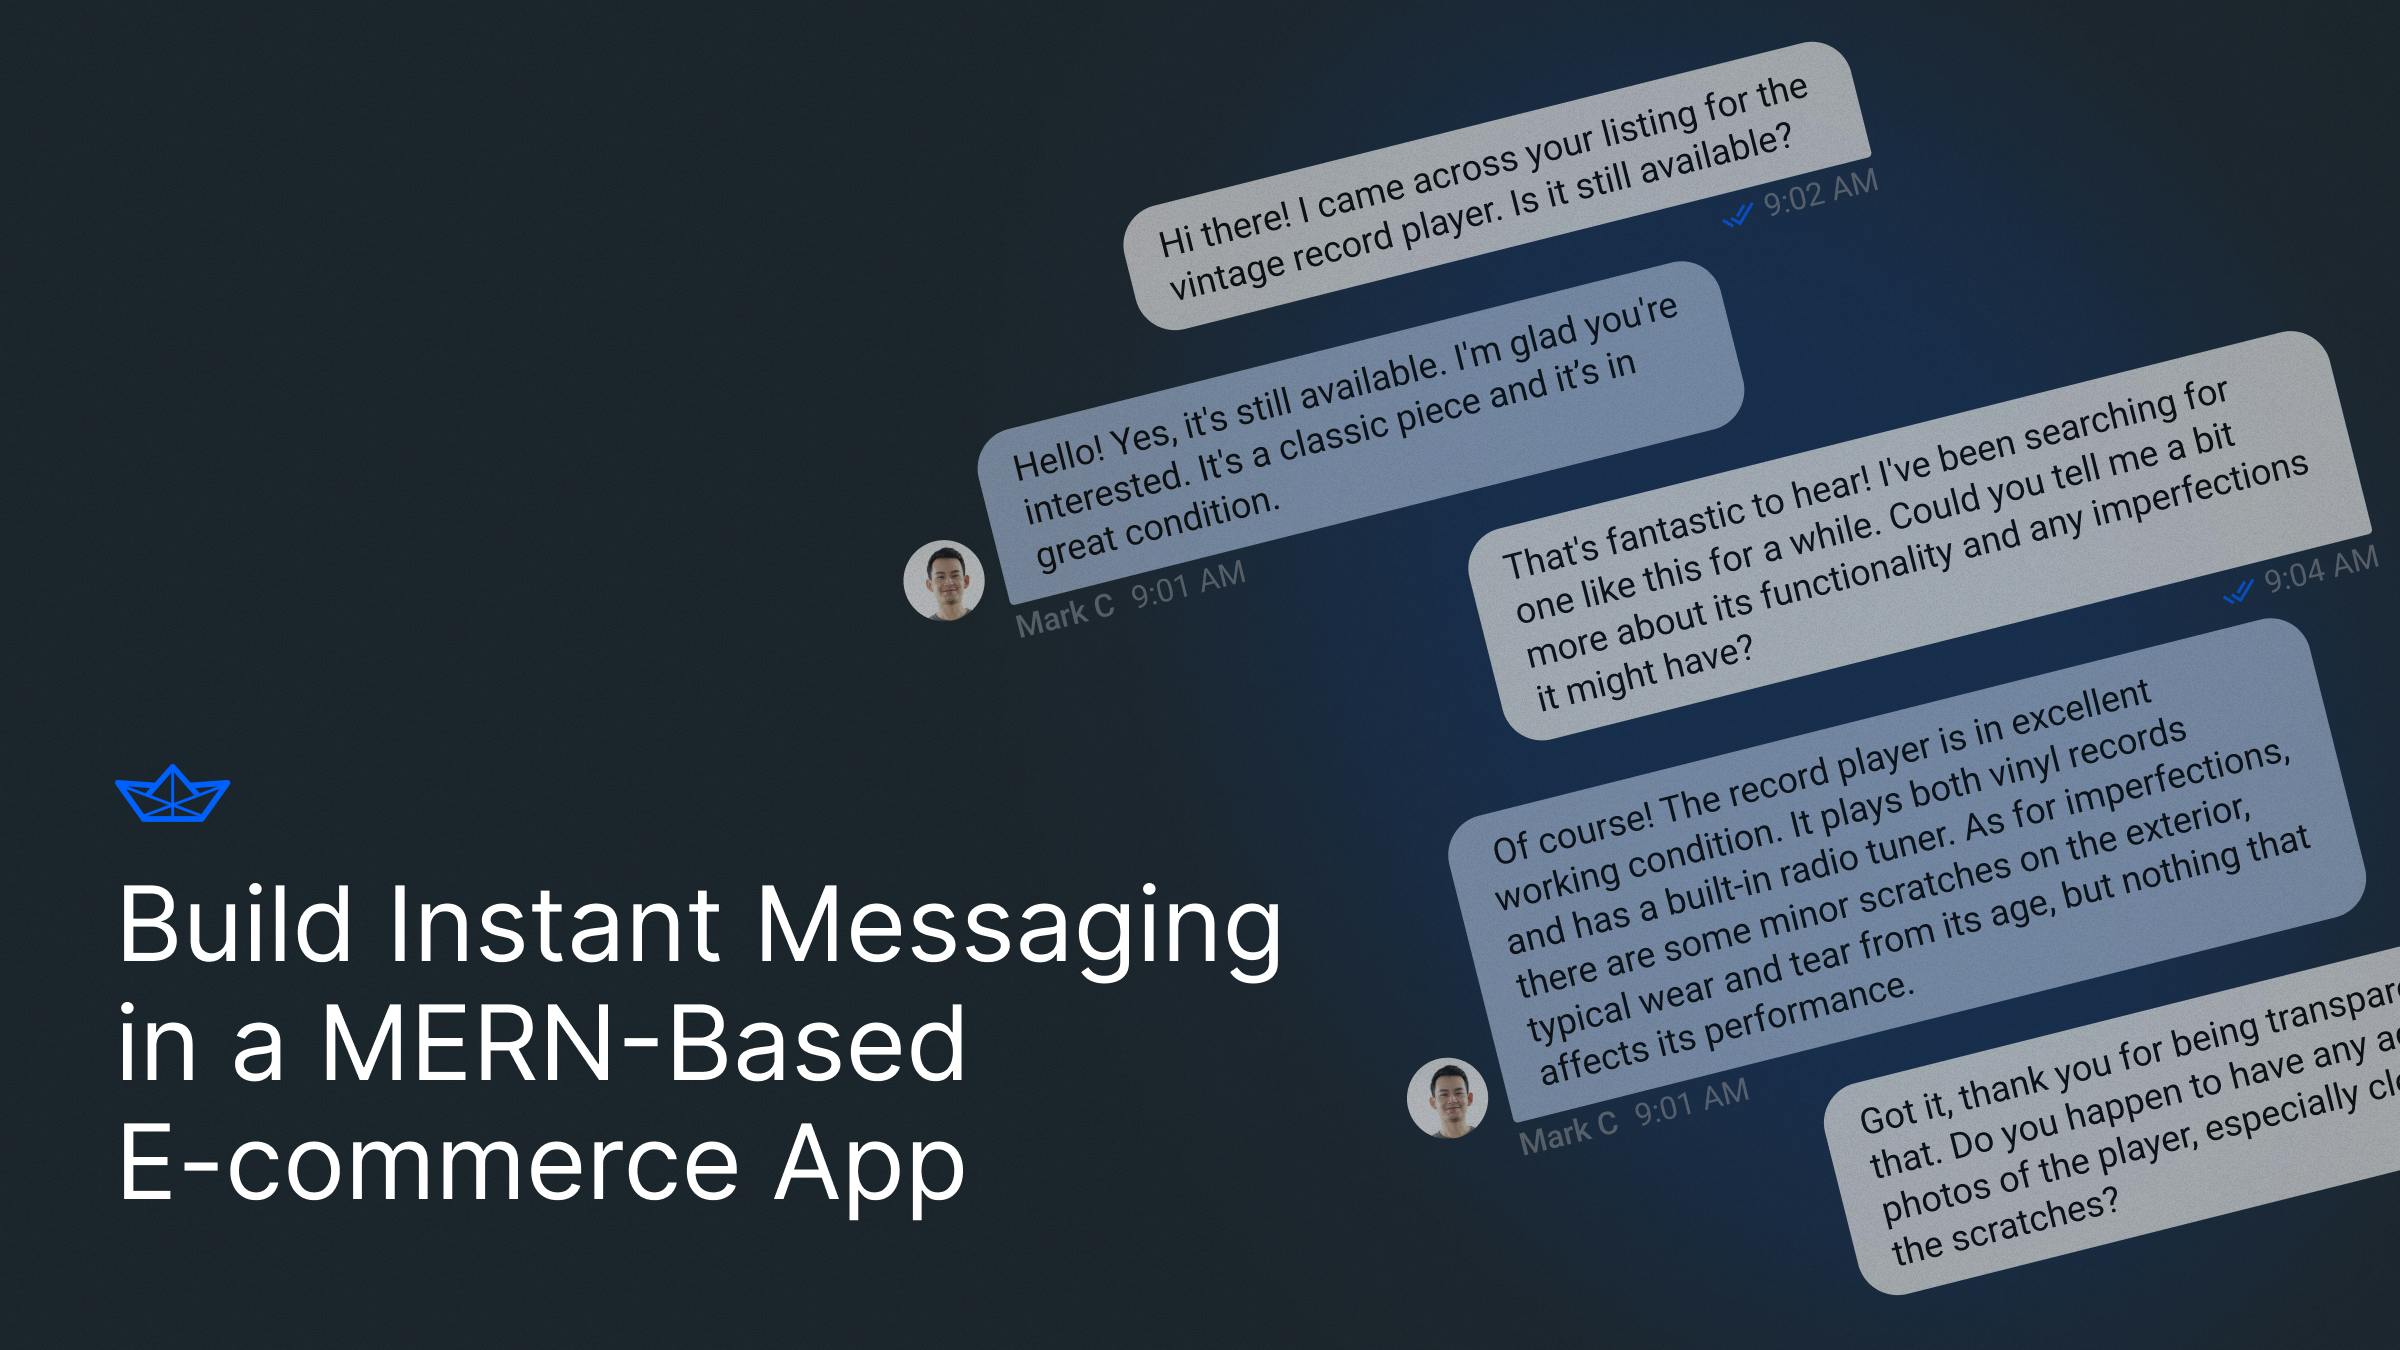
In this tutorial, we will use Stream to integrate instant messaging into a MERN-based marketplace app, highlighting the importance of this feature in modern web applications. You will also see the simplicity Stream's Chat API provides to the developer experience.
What We Will Build
In this article, we will integrate instant messaging into an e-commerce application. You will clone a starter app where customers can sign up and create listings. Other customers can view such listings and click on each for more details. Using Stream, you will add a feature for logged-in users to start a chat with the merchant and get instant feedback if the merchant is online. You will also add an inbox section that allows users to see (and respond) to messages from prospective buyers.
Prerequisites
To follow along, you will need:
- A Stream account, sign up for a free account.
- Create an app on your Stream Dashboard
- Node installed on your system
- MongoDB installed locally or the cloud version
Getting Started
To get started, clone the starter repository prepared for this tutorial.
git clone https://github.com/yemiwebby/stream-marketplace.git
cd stream-marketplace
The application has the following structure. For the sake of brevity, only the top-level files and folders are shown.
stream-marketplace
└───client
└───server
|   package.json
│
The server folder contains the code related to the backend. The backend is built with Express. The client folder contains the code related to the front end, built with React using Vite.
Finally, package.json contains helper scripts to set up and run both the backend and frontend concurrently.
Install the top-level dependencies using the following command.
yarn installNext, set up the frontend and backend dependencies using the following command.
yarn setupAdding Stream to the Backend
While the client side initiates conversations, you need backend access for two key areas - token generation and client syncing. To start a conversation on the client side, you require a token. The backend creates this token and passes the authentication response to the client.
Starting conversations on the client side depends on both users being present on Stream storage. A simple way of ensuring this happens is by syncing the users in the database with your Stream storage. You can do this when the app starts or a new user registers. For demonstration purposes, you will do both.
You will need your Stream API key and API secret to do these things. You can find them on your app dashboard.

Switch to the server folder to add Stream features to the backend.
cd serverNext, add Stream using the following command.
yarn add stream-chatNext, in the helper folder, create a new file named stream.js. This file will contain code to help with the stream functionality required by the backend. Add the following code to the newly created file.
import { StreamChat } from "stream-chat";

const streamClient = () => {
  const apiKey = process.env.STREAM_API_KEY;
  const apiSecret = process.env.STREAM_API_SECRET;

  return StreamChat.getInstance(apiKey, apiSecret);
};

export const getStreamToken = (user) =>
  streamClient().createToken(user._id.toString());

export const syncUser = async ({ _id }) => {
  await streamClient().upsertUser({
id: _id.toString(),The getStreamToken function will generate a token on successful user authentication. To integrate this into the current authentication process, open controller/user.js and update the getSuccessResponse function to match the following code.
import { getStreamToken } from "../helper/stream";

const getSuccessResponse = async (user) => ({
  user: {
    id: user._id,
    email: user.email,
    fullName: user.fullName,
  },
  bearerToken: await getJWTForUser(user),
  streamToken: getStreamToken(user),
});
Next, sync the users in the database with Stream on startup. To do this, update the start function in app.js to match the following.
import { syncUsers } from "./helper/stream.js";
import user from "./model/user.js";

const start = async () => {
  const {
    DB_USERNAME: username,
    DB_PASSWORD: password,
    DB_HOST: host,
    DB_PORT: dbPort,
    APP_PORT: port,
  } = process.env;
  try {
    mongoose.set("strictQuery", false);
    await mongoose.connect(
`mongodb://${username}:${password}@${host}:${dbPort}`,You can also sync users during the registration process. To do this, update the register function in controller/user.js to match the following.
export const register = async (req, res) => {
  const { name, email, password } = req.body;
  const user = new User({
    name,
    email,
    password: hashPassword(password),
  });

  try {
    const savedUser = await user.register();
    await syncUser(savedUser);
    const response = await getSuccessResponse(user);
    response.message = "User registered successfully";
    res.status(201).send(response);
  } catch (error) {
    res.status(400).send({ error: error.message });
  }
};
Remember to add an import statement for the syncUser function.
import { getStreamToken, syncUser } from "../helper/stream.js";The last thing to do on the backend is to set the local environment variables. To do this, make a copy of the .env file provided.
cp .env .env.localOpen the newly created .env.local file and update the values as they pertain to your development environment.
DB_USERNAME=
DB_PASSWORD=
DB_HOST=
DB_PORT=
JWT_TTL=3600000
JWT_SECRET_KEY=This1sN4tSoSecret___YOushouldchangeIt&&*
APP_PORT=8080
STREAM_API_KEY=
STREAM_API_SECRET=
You can test the backend by running the following command.
yarn devBy default, the backend will be served at port 8080. The backend has five endpoints, namely:
| Action | Endpoint | Method | Requires Authentication |
|---|---|---|---|
| Create new user | /register | POST | NO |
| Authenticate existing user | /login | POST | NO |
| Get all products | /product | GET | NO |
| Get product | /product/:id | GET | NO |
| Create new product | /product | POST | YES |
For endpoints requiring authentication, the incoming request must have an Authorization header containing a bearer token.
Add Stream to the frontend
Next, switch to the client folder. Add Stream to the front end using the following command.
yarn add stream-chat stream-chat-reactNext, create local environment variables by copying the .env file in the starter repository.
cp .env .env.localNext, update the values in .env.local with your Stream chat key.
VITE_API_URL = 'http://localhost:8080'
VITE_STREAM_CHAT_KEY=
The next thing to do is update the authentication context to keep track of the Stream token returned upon successful registration or login. This project's authentication credentials are stored in Context. Update the code in src/components/context/AuthContext.jsx to match the following.
import { createContext, useContext, useEffect, useState } from "react";

const AuthContext = createContext({});

const AuthContextProvider = ({ children }) => {
  const [bearerToken, setBearerToken] = useState(null);
  const [user, setUser] = useState(null);
  const [streamToken, setStreamToken] = useState(null);

  const saveAuthCredentials = ({ bearerToken, user, streamToken }) => {
    setBearerToken(bearerToken);
    setUser(user);
    setStreamToken(streamToken);
  };
The application is wrapped with the exported AuthContextProvider. This gives child components the ability to update the saved user details and tokens (using the saveAuthCredentials function) and retrieve the saved details as may be required by each component.
Next, update the components responsible for registration and login so that the Stream token is also saved to Context. Open src/components/authentication/LoginForm.jsx and update the onSubmit function to match the following.
const onSubmit = async (values) => {
  const { user, bearerToken, streamToken } = await login(values);
  if (user && bearerToken && streamToken) {
    saveAuthCredentials({ user, bearerToken, streamToken });
    onClose();
  }
};
This function is responsible for calling the backend when the user clicks the ****Submit**** button on the login form. If the user provided valid credentials, then the returned response will contain the authentication credentials which can be saved using the saveAuthCredentials function.
In the same manner, update the onSubmit function in src/components/authentication/RegistrationForm.jsx to match the following.
const onSubmit = async (values) => {
  const { user, bearerToken, streamToken } = await register(values);
  if (user && bearerToken && streamToken) {
    saveAuthCredentials({ user, bearerToken, streamToken });
    navigate("/");
  }
};
Now that you can retrieve a Stream token from the backend, it’s time to add the chat functionality to your application. The first thing to do is add the StreamChat client instance to your application. In the src folder, create a new folder named hooks. In the src/hooks folder, create a new file named useStreamClient.js and add the following code.
import { useEffect, useState } from "react";
import { StreamChat } from "stream-chat";

export const useClient = ({ user, streamToken }) => {
  const [chatClient, setChatClient] = useState(null);
  const apiKey = import.meta.env.VITE_STREAM_CHAT_KEY;

  useEffect(() => {
    if (user && streamToken) {
      const client = new StreamChat(apiKey);
      // prevents application from setting stale client (user changed, for example)
      let didUserConnectInterrupt = false;

      const connectionPromise = client
.connectUser(user, streamToken)This hook creates and initializes a StreamChat instance in a “StrictMode” compliant way.
Next, add the chat feature to the ViewProduct component. When a user is logged in, the user should be able to send a message to the product owner from this component. Additionally, if the logged-in user is the owner of the product, instead of opening a chat, the button displayed will redirect the user to the inbox (which we will build later). Update the code in src/components/product/ViewProduct.jsx to match the following.
import { useEffect, useState } from "react";
import { useNavigate, useParams } from "react-router-dom";
import { getProduct } from "../../helper/API.js";
import {
  Button,
  Card,
  CardBody,
  CardFooter,
  Center,
  Heading,
  Image,
  Stack,
  Text,
} from "@chakra-ui/react";
import {Next, create a new component for the user’s inbox. In the src/components folder, create a new folder named chat. In this folder, create a new file named Inbox.jsx and add the following code to it.
import {
  Channel,
  ChannelHeader,
  ChannelList,
  Chat,
  LoadingIndicator,
  MessageInput,
  MessageList,
  Thread,
  Window,
} from "stream-chat-react";
import { Stack } from "@chakra-ui/react";
import { useClient } from "../../hooks/useStreamClient";
import "stream-chat-react/dist/css/v2/index.css";
import { useAuthContext } from "../context/AuthContext.jsx";With the chat functionality in place, add some styling for the chat boxes. In the src folder, create a new file named layout.css and add the following to it.
.str-chat__channel-list {
     width: 30%;
 }

 .str-chat__channel {
     width: 100%;
 }

 .str-chat__thread {
     width: 45%;
 }
Import this CSS file in src/App.jsx as shown below.
import "./layout.css";Finally, add a new route definition for the Inbox component. Update src/routes.jsx to match the following.
import App from "./App";
import Products from "./components/product/ViewProducts";
import RegistrationForm from "./components/authentication/RegistrationForm";
import LoginForm from "./components/authentication/LoginForm";
import CreateProductForm from "./components/product/CreateProductForm";
import ViewProduct from "./components/product/ViewProduct";
import Inbox from "./components/chat/Inbox";

const routes = [
  {
    path: "/",
    element: <App />,
    children: [
      {
index: true,You can run your application using the yarn dev command. Remember to be at the root of your project directory when running this command.

Conclusion
In this article, you’ve seen how easy it is to add real-time messaging to an application using the Stream chat service. We generated a token for the user (server-side) during the registration or login process.
On the client side, we instantiated a client and used the Stream Chat SDK to handle the rest. While we made minimal changes to the appearance of the Chat boxes, Stream allows you to customize your UI components, which allows the chat to blend in better with your application.
The final version of the application is available on the completed branch of this repository on GitHub; feel free to consult it if you run into any issues. Happy coding!
