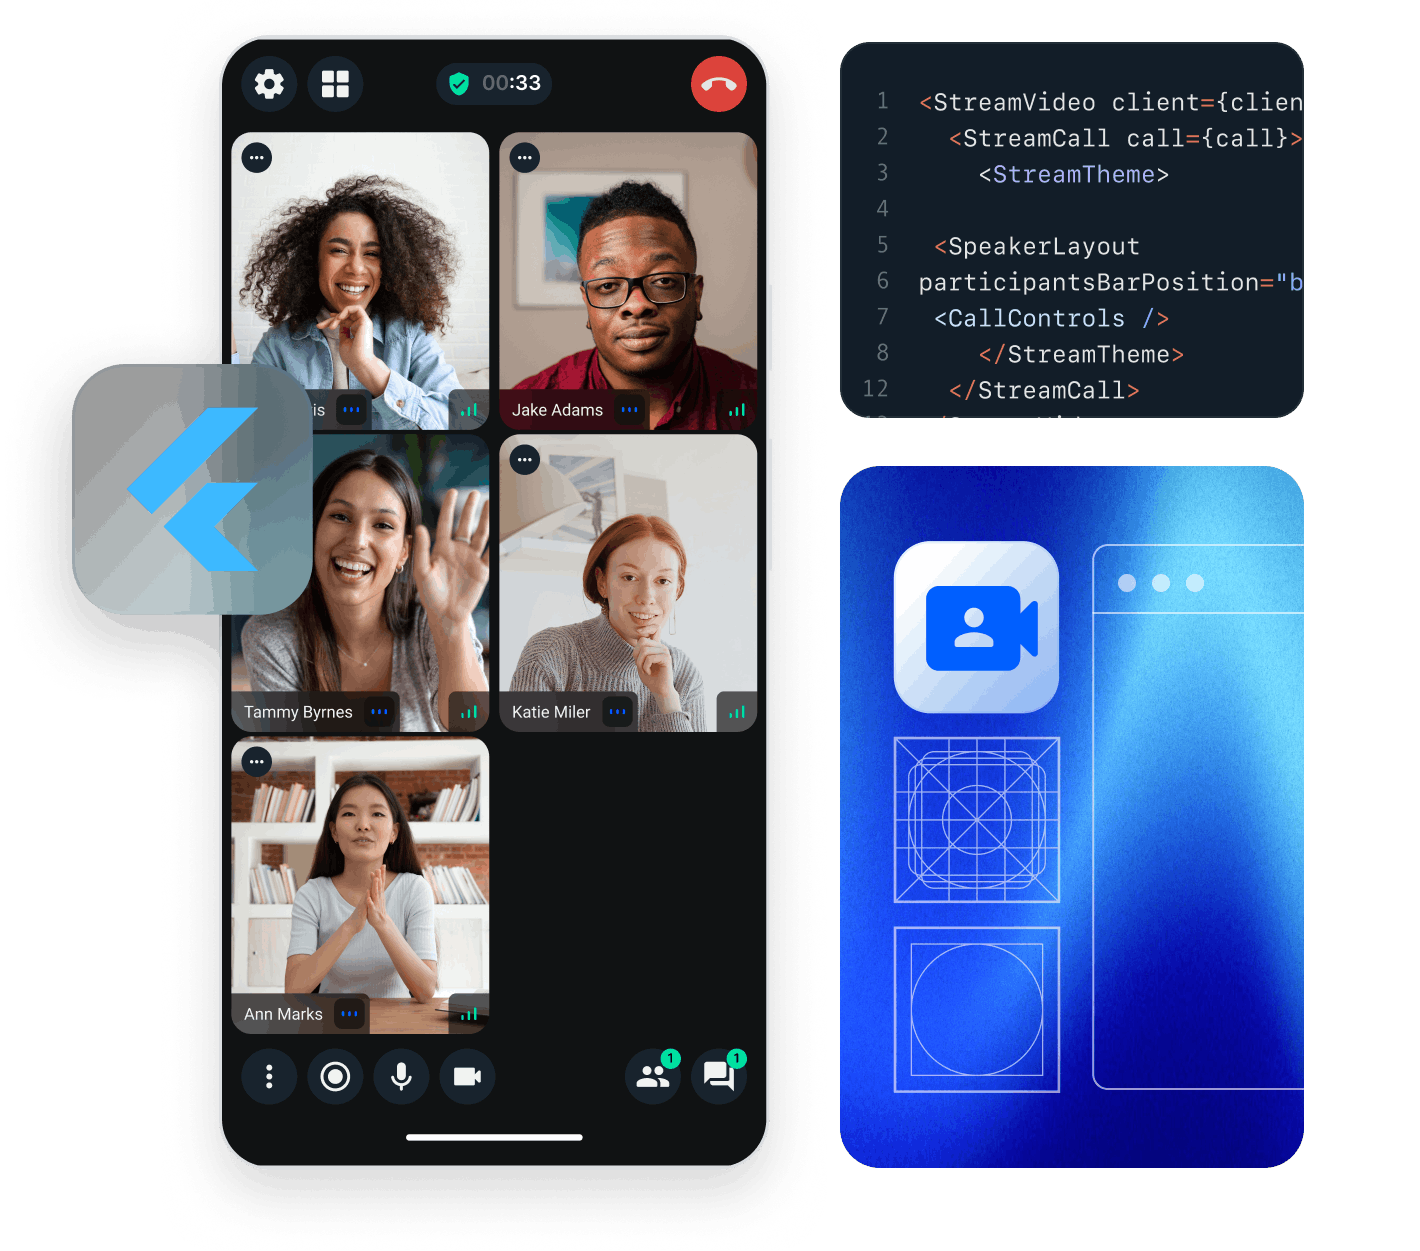
In this tutorial, we will cover the steps to quickly build a low-latency live-streaming experience in Flutter using Stream’s Video SDK. The livestream is broadcast using Stream's edge network of servers around the world.
For this tutorial, we will cover the following topics:
- Ultra low latency streaming
- Multiple streams & co-hosts
- RTMP in and WebRTC input
- Exporting to HLS
- Reactions, custom events and chat
- Recording & Transcriptions
UI components are fully customizable, as demonstrated in the Flutter Video Cookbook.
You can find the full code for the video calling tutorial on the Flutter Video Tutorials repository.
Let's dive in! If you have any questions or need to provide feedback along the way, don't hesitate to use the feedback button - we're here to help!
Step 1 - Create a new project and add configuration
Let’s begin by creating a new Flutter project:
12flutter create livestream_tutorial --empty
cd livestream_tutorial
The next step is to add the Flutter SDK for Stream Video to your dependencies. Open pubspec.yaml and add the following
inside the dependencies section:
1234567dependencies:
  flutter:
    sdk: flutter

  stream_video: ^latest
  stream_video_flutter: ^latest
  stream_video_push_notification: ^latest
Stream has several packages that you can use to integrate video into your application.
In this tutorial, we will use the stream_video_flutter package which contains pre-built UI elements for you to use.
You can also use the stream_video package directly if you need direct access to the low-level client.
The stream_video_push_notification package helps in adding push notifications and an end-to-end call flow (CallKit).
Before you go ahead, you need to add the required permissions for video calling to your app.
In your AndroidManifest.xml file, add these permissions:
12345678910111213141516<manifest xmlns:android="http://schemas.android.com/apk/res/android">

    <uses-permission android:name="android.permission.INTERNET"/>
    <uses-feature android:name="android.hardware.camera"/>
    <uses-feature android:name="android.hardware.camera.autofocus"/>
    <uses-permission android:name="android.permission.CAMERA"/>
    <uses-permission android:name="android.permission.RECORD_AUDIO"/>
    <uses-permission android:name="android.permission.ACCESS_NETWORK_STATE"/>
    <uses-permission android:name="android.permission.CHANGE_NETWORK_STATE"/>
    <uses-permission android:name="android.permission.MODIFY_AUDIO_SETTINGS"/>
    <uses-permission android:name="android.permission.BLUETOOTH" android:maxSdkVersion="30"/>
    <uses-permission android:name="android.permission.BLUETOOTH_ADMIN" android:maxSdkVersion="30"/>
    <uses-permission android:name="android.permission.BLUETOOTH_CONNECT"/>

    ...
</manifest>
For the corresponding iOS permissions, open the Info.plist file and add:
1234567891011121314<key>NSCameraUsageDescription</key>
<string>$(PRODUCT_NAME) Camera Usage!</string>
<key>NSMicrophoneUsageDescription</key>
<string>$(PRODUCT_NAME) Microphone Usage!</string>
<key>UIApplicationSupportsIndirectInputEvents</key>
<true/>
<key>UIBackgroundModes</key>
<array>
    <string>audio</string>
	<string>fetch</string>
	<string>processing</string>
	<string>remote-notification</string>
	<string>voip</string>
</array>
Step 2 - Setting up the Stream Video client
To actually run this sample we need a valid user token. The user token is typically generated by your server side API. When a user logs in to your app you return the user token that gives them access to the call. To make this tutorial easier to follow we'll generate a user token for you:
Please update REPLACE_WITH_API_KEY, REPLACE_WITH_USER_ID, REPLACE_WITH_TOKEN, and REPLACE_WITH_CALL_ID with the actual values:
Here are credentials to try out the app with:
| Property | Value |
|---|---|
| API Key | Waiting for an API key ... |
| Token | Token is generated ... |
| User ID | Loading ... |
| Call ID | Creating random call ID ... |
First, let’s import the package into the project and then initialise the client with the credentials you received:
123456789101112131415161718192021222324import 'package:stream_video_flutter/stream_video_flutter.dart';

Future<void> main() async {
  // Ensure Flutter is able to communicate with Plugins
  WidgetsFlutterBinding.ensureInitialized();

  // Initialize Stream video and set the API key for our app.
  StreamVideo(
    'REPLACE_WITH_API_KEY',
    user: const User(
      info: UserInfo(
        name: 'John Doe',
        id: 'REPLACE_WITH_USER_ID',
      ),
    ),
    userToken: 'REPLACE_WITH_TOKEN',
  );

  runApp(
    const MaterialApp(
      home: HomeScreen(),
    ),
  );
}
Step 3 - Building the home screen
To keep things simple, our sample application will only consist of two screens, a landing page to allow users the ability to create a livestream, and another page to view and control the livestream.
First, let's create a basic home screen with a button in the center that will eventually create a livestream:
123456789101112131415161718192021222324class HomeScreen extends StatefulWidget { const HomeScreen({ super.key, }); State<HomeScreen> createState() => _HomeScreenState(); } class _HomeScreenState extends State<HomeScreen> { Widget build(BuildContext context) { return Scaffold( body: Center( child: ElevatedButton( onPressed: () => _createLivestream(), child: const Text('Create a Livestream'), ), ), ); } Future<void> _createLivestream() async {} }
Now, we can fill in the functionality to create a livestream whenever the button is pressed.
To do this, we have to do a few things:
- Create a call with a type of
livestreamand pass in an ID for the call. - Set any connect options required and call
call.getOrCreate()to create the livestream. - If call is successfully created, join the call and use
call.goLive()to start the livestream immediately. - Navigate to the page for displaying the livestream once everything is created properly.
⚠️ If you do not call call.goLive(), a livestream call is started in backstage mode, meaning the call hosts can join and see each other but the call will be invisible to others.
Here is what all of the above looks like in code:
123456789101112131415161718192021222324252627282930Future<void> _createLivestream() async {
  // Set up our call object
  final call = StreamVideo.instance.makeCall(
    callType: StreamCallType.liveStream(),
    id: 'REPLACE_WITH_CALL_ID',
  );

  // Set some default behaviour for how our devices should be configured once we join a call
  call.connectOptions = CallConnectOptions(
    camera: TrackOption.enabled(),
    microphone: TrackOption.enabled(),
  );

  final result = await call.getOrCreate(); // Call object is created

  if (result.isSuccess) {
    await call.join(); // Our local app user can join and receive events
    await call.goLive(); // Allow others to see and join the call (exit backstage mode)

    Navigator.of(context).push(
      MaterialPageRoute(
        builder: (context) => LiveStreamScreen(
          livestreamCall: call,
        ),
      ),
    );
  } else {
    debugPrint('Not able to create a call.');
  }
}
Step 4 - Building the livestream screen
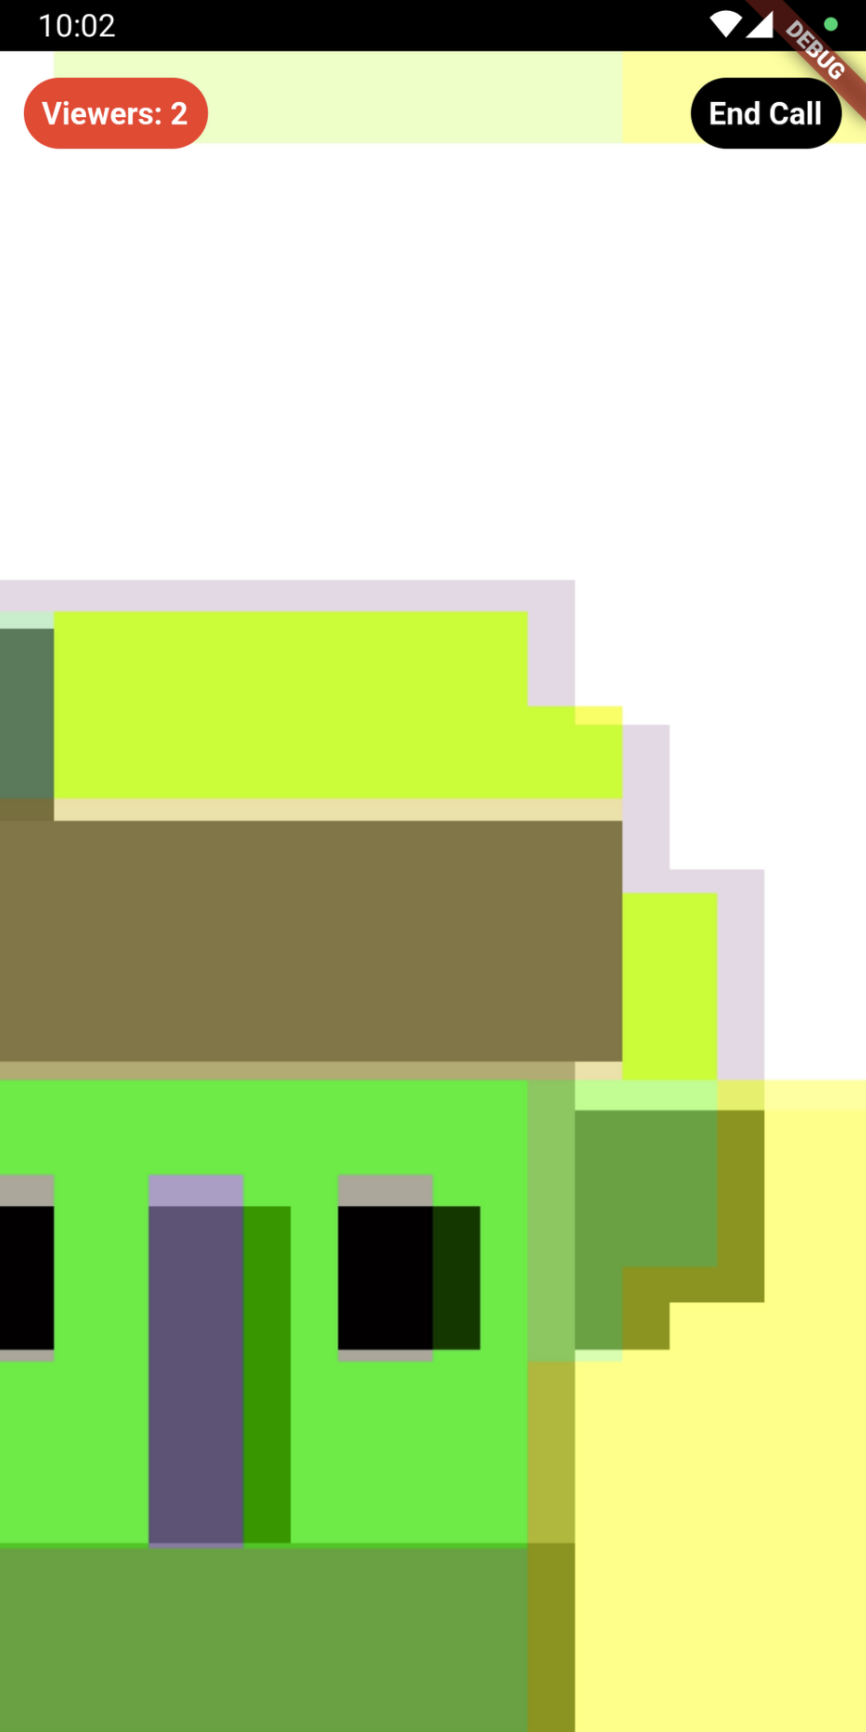
For this example, the livestream screen we are making displays the current livestream and the current number of viewers. It also contains an option to end the livestream at any time.
First of all, let's create a basic livestream screen widget and accept the livestream call as a parameter.
We can also listen to any state changes to this call via call.state.valueStream to respond to anything changing in the livestream.
Here the code for the screen:
12345678910111213141516171819202122232425class LiveStreamScreen extends StatelessWidget { const LiveStreamScreen({ super.key, required this.livestreamCall, }); final Call livestreamCall; Widget build(BuildContext context) { return SafeArea( child: StreamBuilder( stream: livestreamCall.state.valueStream, initialData: livestreamCall.state.value, builder: (context, snapshot) { final callState = snapshot.data!; final participant = callState.callParticipants.first; // ... }, ), ); } }
Next, inside the StreamBuilder above, we can add a Stack consisting of the StreamVideoRenderer widget at the bottom which displays the main livestream feed.
We can also add some checks for make sure that the app has received the state of the livestream and that the call is connected:
1234567891011121314151617181920return Scaffold(
  body: Stack(
    children: [
      if (snapshot.hasData)
        StreamVideoRenderer(
          call: livestreamCall,
          videoTrackType: SfuTrackType.video,
          participant: participant,
        ),
      if (!snapshot.hasData)
        const Center(
          child: CircularProgressIndicator(),
        ),
      if (snapshot.hasData && callState.status.isDisconnected)
        const Center(
          child: Text('Stream not live'),
        ),
    ],
  ),
);
Additionally, we can also add the viewer count and an option to end the call into the Stack.
To get the participant count, we can use the callState.callParticipants list length.
We also need to add some positioning to get the viewer count and the button to end the call at the right place:
123456789101112131415161718192021222324252627282930313233343536373839404142434445464748495051525354555657Stack(
  children: [
    // ...
    Positioned(
      top: 12.0,
      left: 12.0,
      child: Material(
        shape: RoundedRectangleBorder(
          borderRadius: BorderRadius.circular(24),
        ),
        color: Colors.red,
        child: Center(
          child: Padding(
            padding: const EdgeInsets.all(8.0),
            child: Text(
              'Viewers: ${callState.callParticipants.length}',
              style: const TextStyle(
                fontSize: 14,
                color: Colors.white,
                fontWeight: FontWeight.bold,
              ),
            ),
          ),
        ),
      ),
    ),
    Positioned(
      top: 12.0,
      right: 12.0,
      child: Material(
        shape: RoundedRectangleBorder(
          borderRadius: BorderRadius.circular(24),
        ),
        color: Colors.black,
        child: GestureDetector(
          onTap: () {
            livestreamCall.end();
            Navigator.pop(context);
          },
          child: const Center(
            child: Padding(
              padding: EdgeInsets.all(8.0),
              child: Text(
                'End Call',
                style: TextStyle(
                  fontSize: 14,
                  color: Colors.white,
                  fontWeight: FontWeight.bold,
                ),
              ),
            ),
          ),
        ),
      ),
    ),
  ],
)
With this, the final code of the livestream page becomes:
12345678910111213141516171819202122232425262728293031323334353637383940414243444546474849505152535455565758596061626364656667686970717273747576777879808182838485868788899091929394class LiveStreamScreen extends StatelessWidget { const LiveStreamScreen({ super.key, required this.livestreamCall, }); final Call livestreamCall; Widget build(BuildContext context) { return SafeArea( child: StreamBuilder( stream: livestreamCall.state.valueStream, initialData: livestreamCall.state.value, builder: (context, snapshot) { final callState = snapshot.data!; final participant = callState.callParticipants.first; return Scaffold( body: Stack( children: [ if (snapshot.hasData) StreamVideoRenderer( call: livestreamCall, videoTrackType: SfuTrackType.video, participant: participant, ), if (!snapshot.hasData) const Center( child: CircularProgressIndicator(), ), if (snapshot.hasData && callState.status.isDisconnected) const Center( child: Text('Stream not live'), ), Positioned( top: 12.0, left: 12.0, child: Material( shape: RoundedRectangleBorder( borderRadius: BorderRadius.circular(24), ), color: Colors.red, child: Center( child: Padding( padding: const EdgeInsets.all(8.0), child: Text( 'Viewers: ${callState.callParticipants.length}', style: const TextStyle( fontSize: 14, color: Colors.white, fontWeight: FontWeight.bold, ), ), ), ), ), ), Positioned( top: 12.0, right: 12.0, child: Material( shape: RoundedRectangleBorder( borderRadius: BorderRadius.circular(24), ), color: Colors.black, child: GestureDetector( onTap: () { livestreamCall.end(); Navigator.pop(context); }, child: const Center( child: Padding( padding: EdgeInsets.all(8.0), child: Text( 'End Call', style: TextStyle( fontSize: 14, color: Colors.white, fontWeight: FontWeight.bold, ), ), ), ), ), ), ), ], ), ); }, ), ); } }
If all works as intended, we will be able to create a livestream from the first device:
Step 5 - Viewing a livestream (WebRTC)
Stream uses a technology called SFU cascading to replicate your livestream over different SFUs around the world. This makes it possible to reach a large audience in realtime.
To view the livestream for testing, click Create livestream in the Flutter app and click the link below to watch the video in your browser:
If you want to view the livestream through a Flutter application, you can use the LivestreamPlayer widget that is built into the Flutter SDK.
To do this, you can use the LivestreamPlayer widget and pass along the livestream call:
123return LivestreamPlayer(
  call: livestreamCall,
);
This widget has most required controls and info for viewing a livestream and makes your job to create a livestream viewing interface effortless.
Step 6 (Optional) - Start HLS stream
Stream offers two flavors of livestreaming, WebRTC-based livestreaming and RTMP-based livestreaming. WebRTC based livestreaming allows users to easily start a livestream directly from their phone and benefit from ultra low latency.
The final piece of livestreaming using Stream is support for HLS or HTTP Live Streaming. HLS, unlike WebRTC based streaming, tends to have a 10 to 20 second delay but offers video buffering under poor network condition.
To enable HLS support, your call must first be placed into “broadcasting” mode using the call.startHLS() method.
We can then obtain the HLS URL by querying the hlsPlaylistURL from call.state:
1234567final result = await call.startHLS();

if (result.isSuccess) {
  final url = call.state.value.egress.hlsPlaylistUrl;

  //...
}
With the HLS URL, your call can be broadcast to most livestreaming platforms.
RTMP Livestreaming
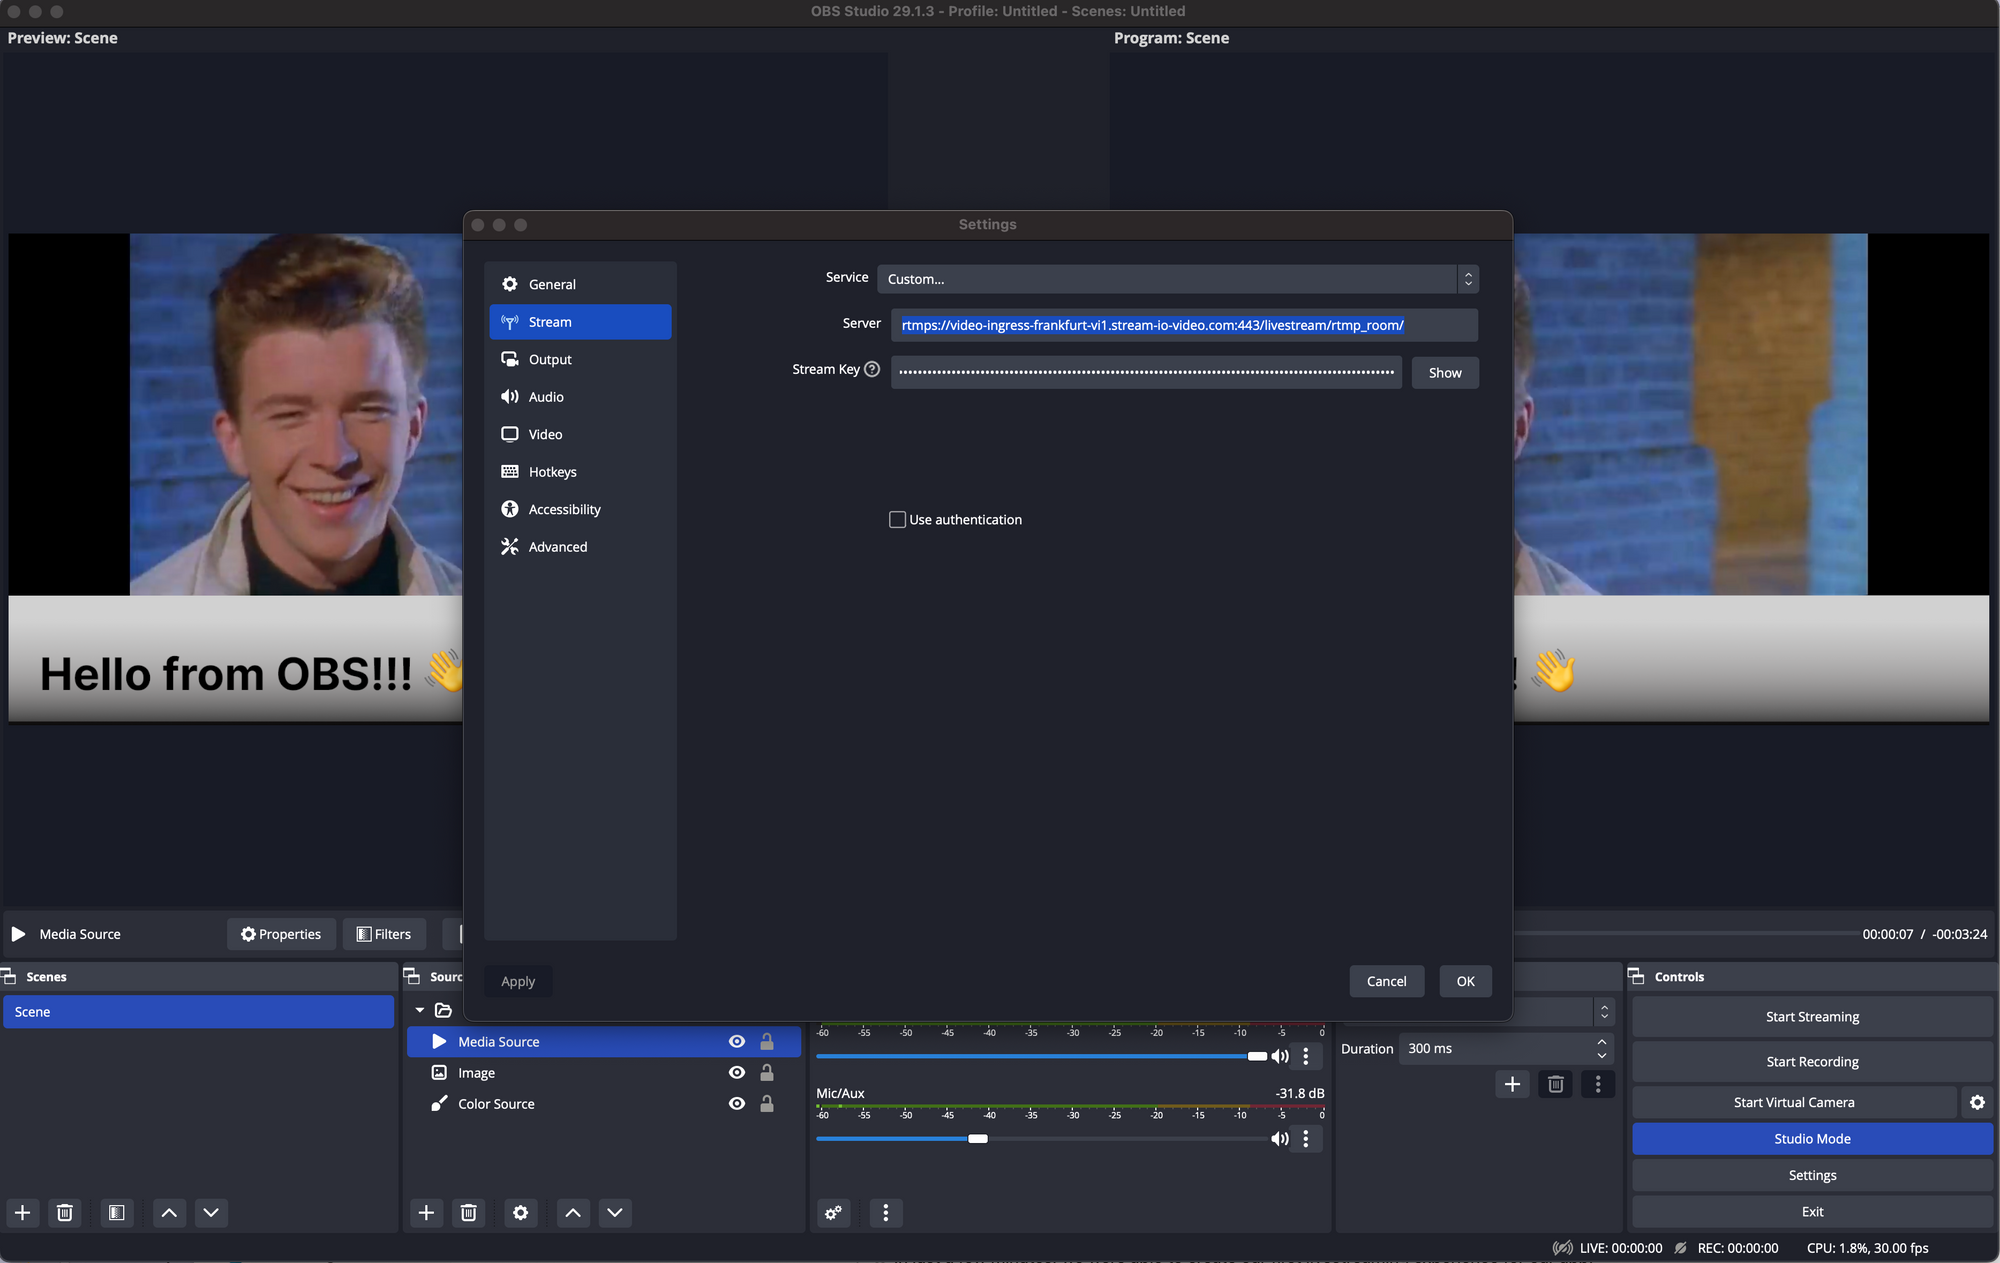
For more advanced livestreaming configurations such as cases where multiple cameras may be required or different scenes and animations, streaming tools OBS can be used together with Stream video using RTMP (Real Time Messaging Protocol).
By default, when a call is created, it is given a dedicated RTMP URL which can be used by most common streaming platforms to inject video into the call. To configure RTMP and OBS with Stream, two things are required:
- The RTMP URL of the call
- A “streaming key” comprised of your application’s API Key and User Token in the format
apikey/usertoken
With these two pieces of information, we can update the settings in OBS then select the “Start Streaming” option to view our livestream in the application.
⚠️ A user with the name and associated with the user token provided to OBS will appear in the call. It is worth creating a dedicated user object for OBS streaming.
Recap
Find the complete code for this tutorial on the Flutter Video Tutorials Repository.
Stream Video allows you to quickly build in-app low-latency livestreaming in Flutter. Our team is happy to review your UI designs and offer recommendations on how to achieve it with the Stream SDKs.
To recap what we've learned:
- WebRTC is optimal for latency, while HLS is slower, but buffers better for users with poor connections.
- You set up a call with
var call = client.makeCall(callType: StreamCallType.liveStream(), id: callID). - The call type
livestreamcontrols which features are enabled and how permissions are set up. - The livestream call has backstage mode enabled by default. This allows you and your co-hosts to setup your mic and camera before allowing people in.
- When you join a call, realtime communication is setup for audio & video:
call.join(). - Data in
call.stateandcall.state.value.participantsmake it easy to build your own UI.
Calls run on Stream's global edge network of video servers. Being closer to your users improves the latency and reliability of calls. The SDKs enable you to build livestreaming, audio rooms and video calling in days.
We hope you've enjoyed this tutorial and please feel free to reach out if you have any suggestions or questions.
Final Thoughts
In this video app tutorial we built a fully functioning Flutter livestreaming app with our Flutter SDK component library. We also showed how easy it is to customize the behavior and the style of the Flutter video app components with minimal code changes.
Both the video SDK for Flutter and the API have plenty more features available to support more advanced use-cases.