function App() {
  // Client and call setup skipped for brevity

  const [pipWindow, setPipWindow] = useState(null);

  const handlePictureInPicture = useCallback(async () => {
    // Check browser support first
    if ("documentPictureInPicture" in window) {
      const pw = await window.documentPictureInPicture.requestWindow();
      setPipWindow(pw);
    }
  }, []);

  return (
    <StreamVideo client={client}>
      <StreamCall call={call}>
        <StreamTheme>
          <SpeakerLayout />
          <CallControls />
          <button type="button" onClick={handlePictureInPicture}>
            PiP
          </button>
        </StreamTheme>
      </StreamCall>
    </StreamVideo>
  );
}Document Picture-in-Picture
Picture-in-picture mode allows you to pop out a part of your UI into an always-on-top window. It’s a great way to let your users keep an eye on the call while they work on other activities.
Browsers support two “flavors” of picture-in-picture (PiP): a widely supported API for video elements, and a newer API for entire documents, that is currently only supported in Chrome-based browsers.
We have a dedicated article describing to how to use Video PiP. This method has its limitations, most notably you can only pop out a video from a single participant, and it’s not possible to add custom controls (like mute) to the PiP window.
Document PiP gives us much more flexibility to create rich experiences. But keep in mind that this API is not yet supported in all browsers.
Getting Started
Using the Document Picture-in-Picture API is simple: the
documentPictureInPicture.requestWindow() method gives you a new window
instance that you can populate with content. Let’s start by adding a button
somewhere in your call UI that does this:
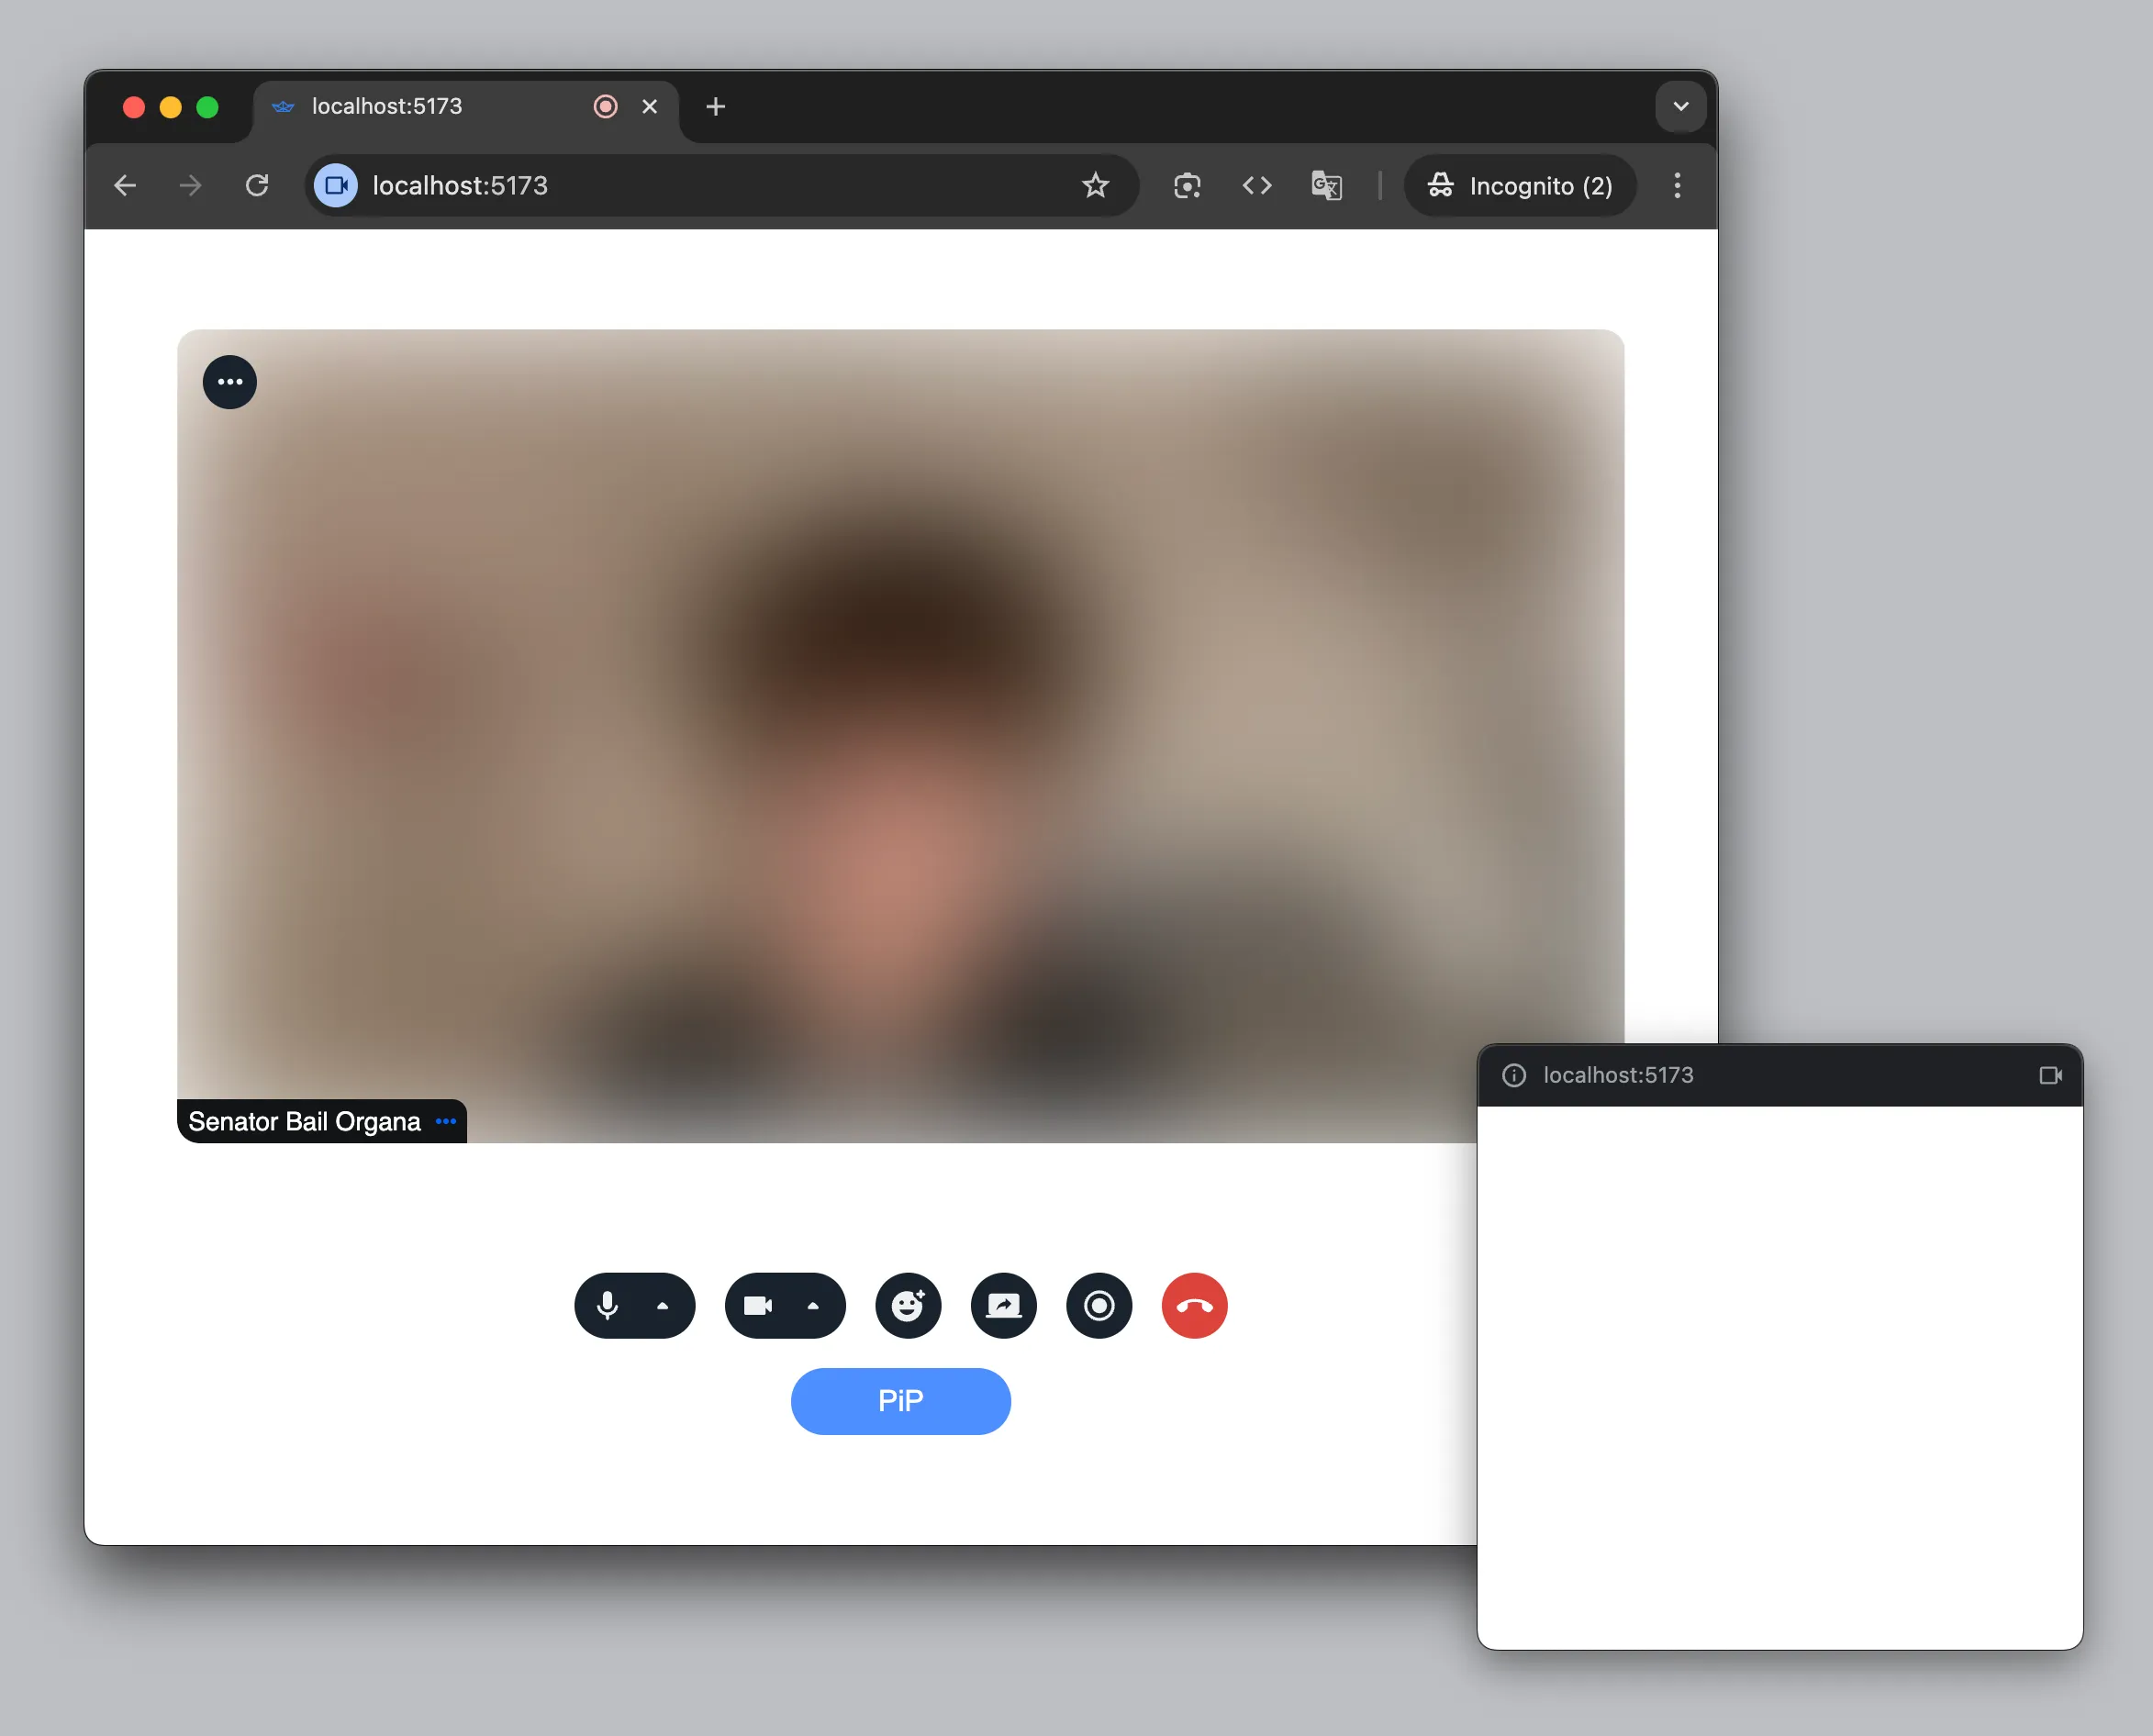
Once you click on the button, you should see a small empty always-on-top window.
Rendering Call UI
Now let’s populate this window with call UI. To do this, simply create a React portal into the body element of the PiP window:
import { createPortal } from "react";

<StreamVideo client={client}>
  <StreamCall call={call}>
    <StreamTheme>
      <SpeakerLayout />
      <CallControls />
      {pipWindow &&
        createPortal(
          <StreamTheme>
            <SpeakerLayout muted />
            <CallControls />
          </StreamTheme>,
          pipWindow.document.body,
        )}
      <button type="button" onClick={handlePictureInPicture}>
        PiP
      </button>
    </StreamTheme>
  </StreamCall>
</StreamVideo>;
You’ll notice something strange, though: the layout inside the PiP window seems
to be broken. This is because it’s a brand new window that has no stylesheets
attached! You can attach a stylesheet to the PiP window’s head element manually
(by creating and appending <style> or <link> elements), but we find it’s
much easier to just copy all stylesheets from the parent window:
const handlePictureInPicture = useCallback(async () => {
if ("documentPictureInPicture" in window) {
const pw = await window.documentPictureInPicture.requestWindow();
window.document.head
.querySelectorAll('link[rel="stylesheet"], style')
.forEach((node) => {
pw.document.head.appendChild(node.cloneNode(true));
});
setPipWindow(pw);
}
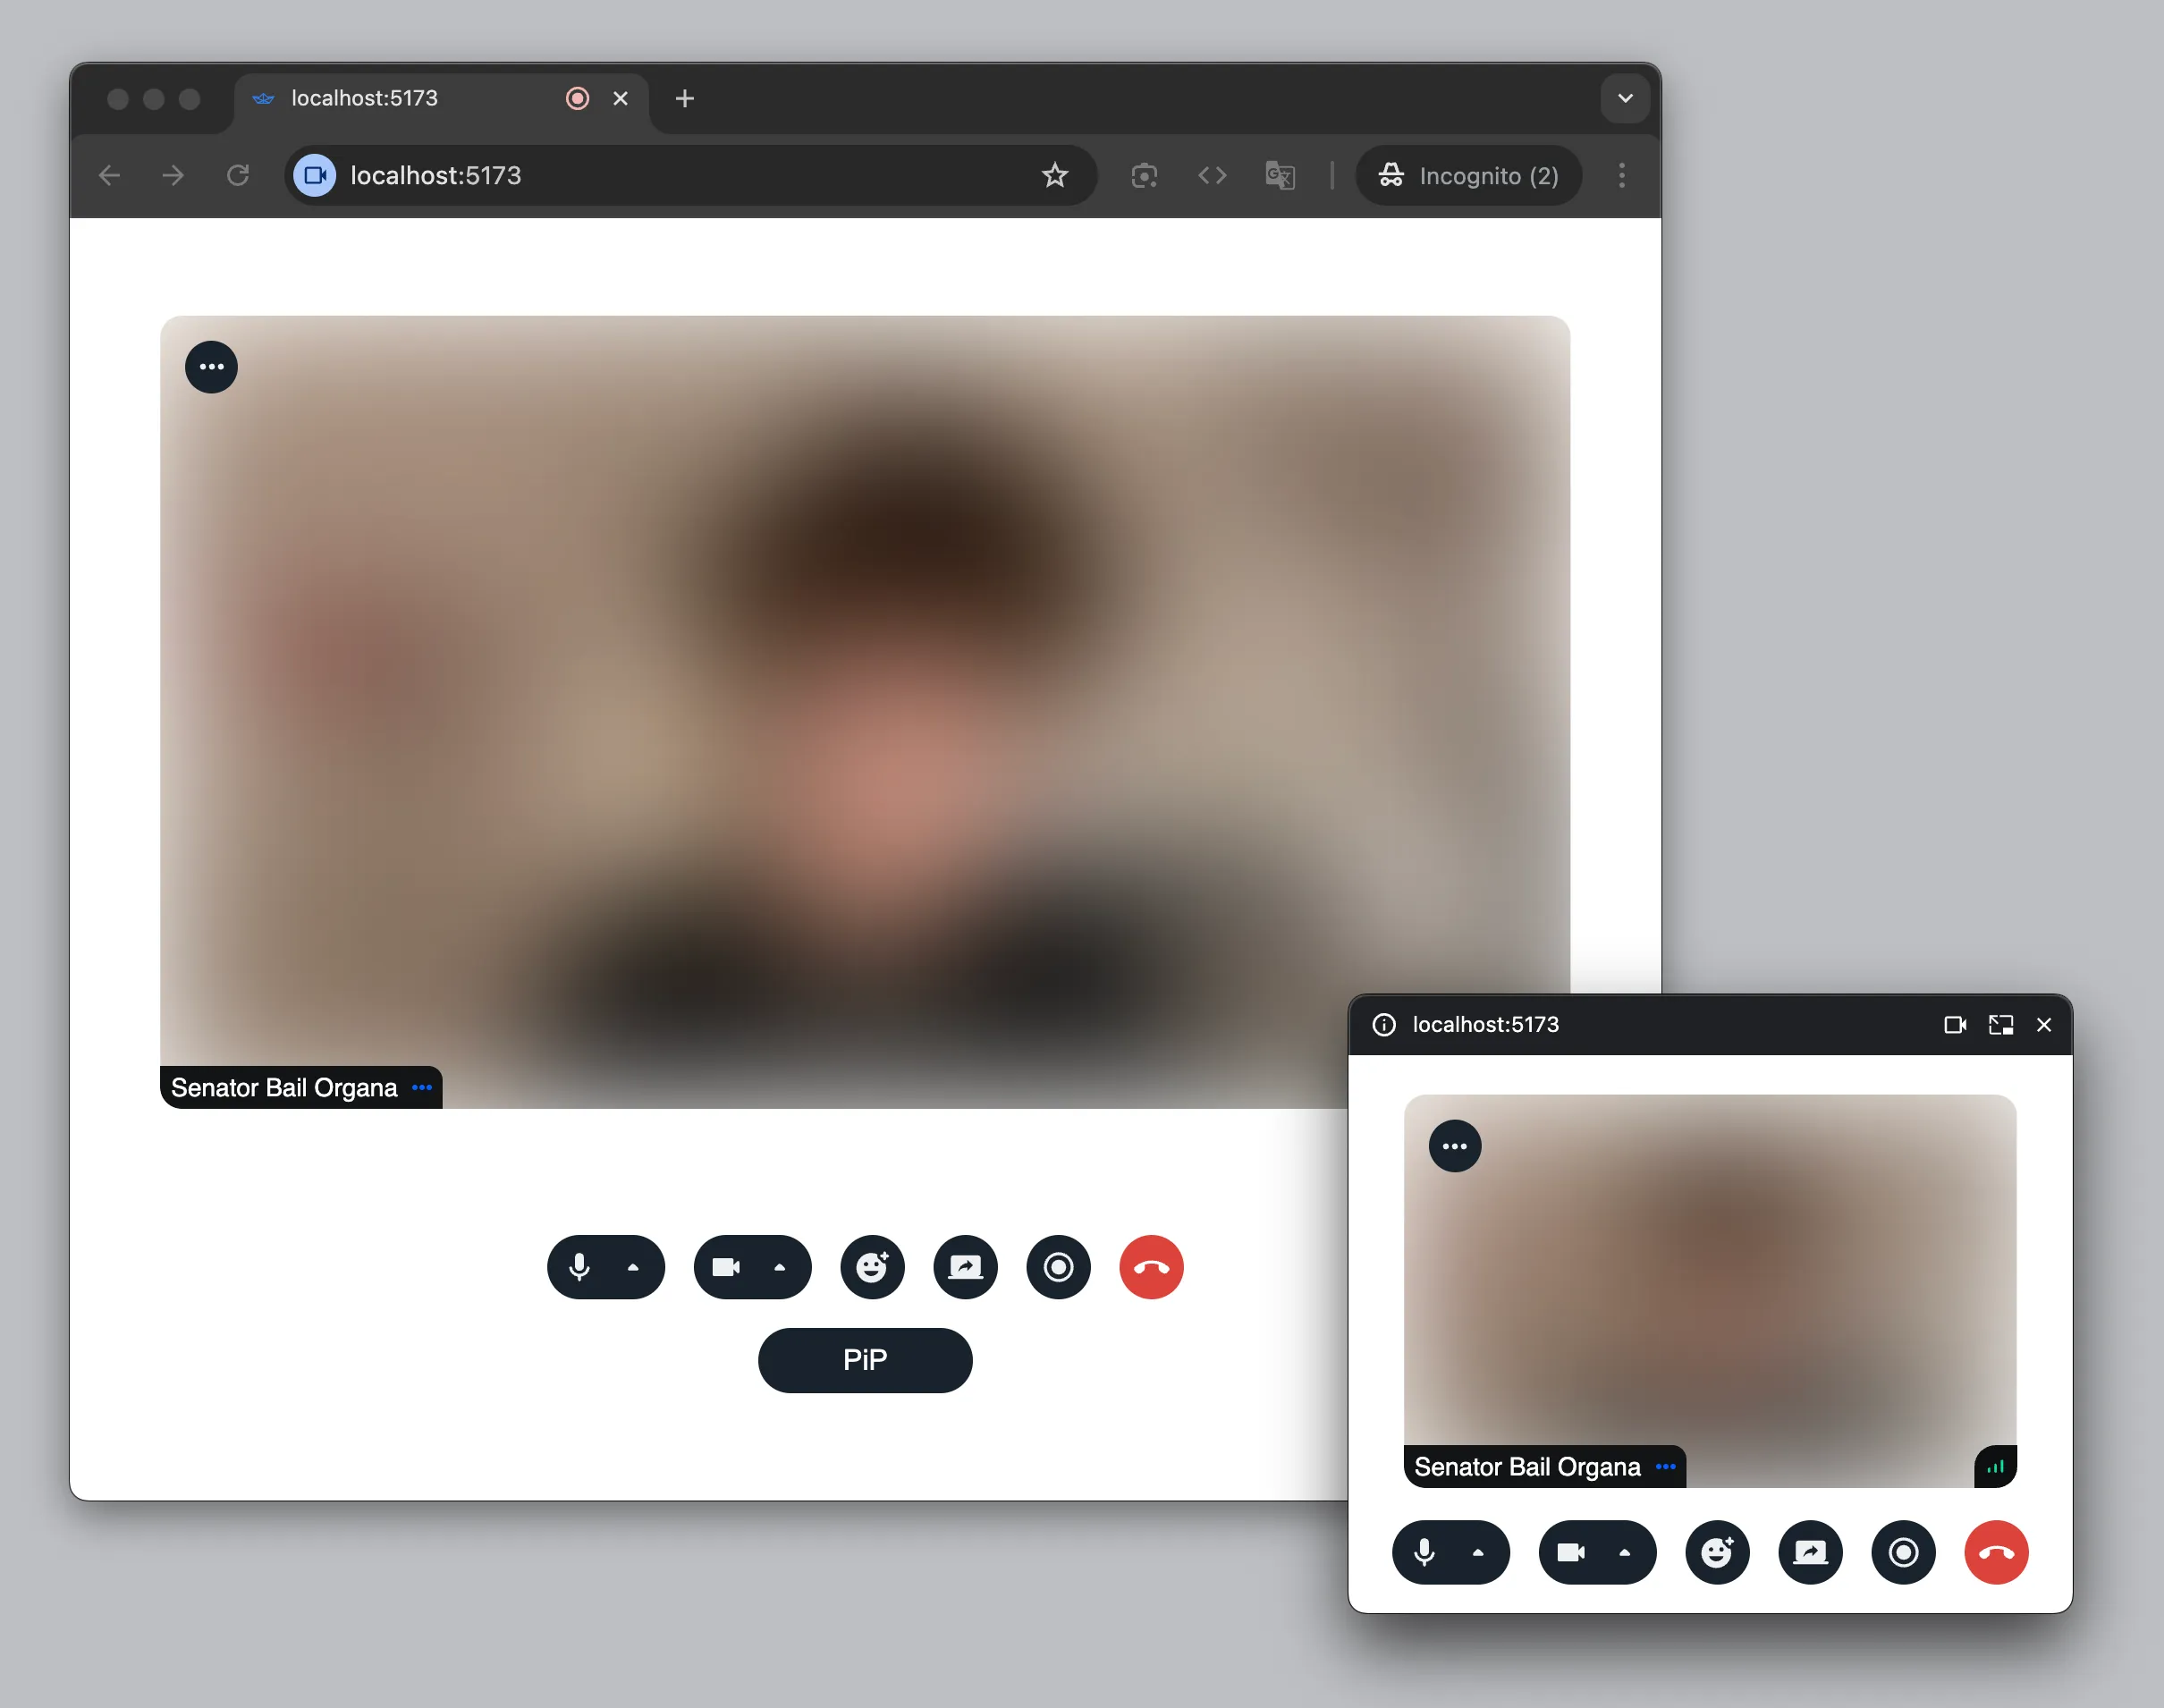
}, []);Now you should see an almost exact copy of the call UI in the PiP window.
Handling Picture-in-Picture Window Events
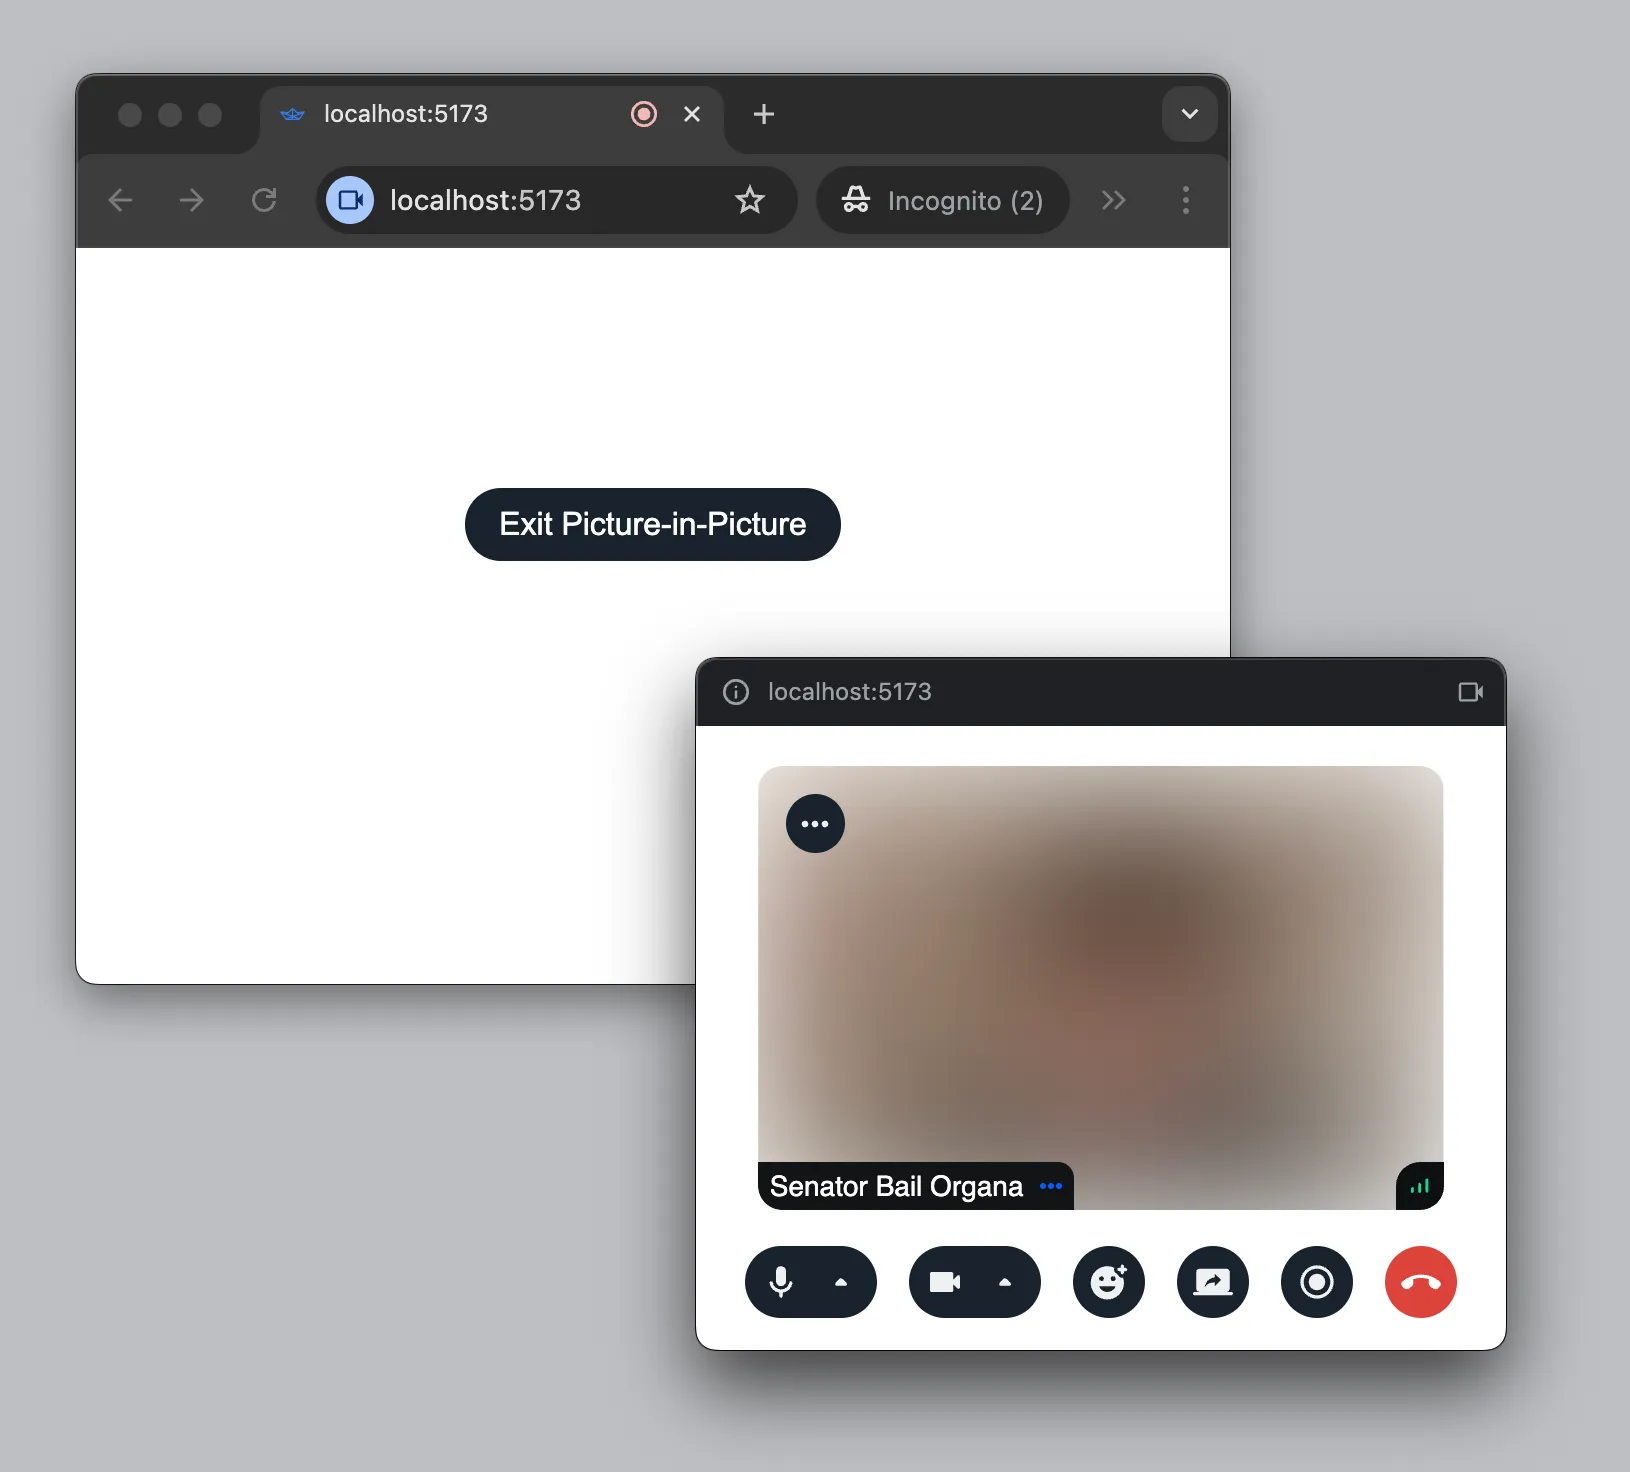
It makes little sense to keep displaying UI in the parent window while PiP is
active. Let’s hide it until the PiP window is closed. To do that we need to
handle the pagehide event on the PiP window. We can also close it from our
code by calling pipWindow.close().
function App() {
  // Client and call setup skipped for brevity

  const { useRemoteParticipants } = useCallStateHooks();
  const remoteParticipants = useRemoteParticipants();
  const [pipWindow, setPipWindow] = useState(null);

  const handlePictureInPicture = useCallback(async () => {
    if ("documentPictureInPicture" in window) {
      const pw = await window.documentPictureInPicture.requestWindow();

      window.document.head
        .querySelectorAll('link[rel="stylesheet"], style')
        .forEach((node) => {
          pw.document.head.appendChild(node.cloneNode(true));
        });

      // Handling "pagehide" event 👇
      pw.addEventListener("pagehide", () => setPipWindow(null));
      setPipWindow(pw);
    }
  }, []);

  return (
    <StreamVideo client={client}>
      <StreamCall call={call}>
        <StreamTheme>
          {/* Conditionally rendering call UI 👇 */}
          {pipWindow ? (
            <>
              {createPortal(
                <StreamTheme>
                  <SpeakerLayout muted />
                  <CallControls />
                </StreamTheme>,
                pipWindow.document.body,
              )}
              <ParticipantsAudio participants={remoteParticipants} />
              {/* Force close PiP window 👇 */}
              <button type="button" onClick={() => pipWindow.close()}>
                Exit Picture-in-Picture
              </button>
            </>
          ) : (
            <>
              <SpeakerLayout participantsBarPosition="bottom" />
              <CallControls />
              <button type="button" onClick={handlePictureInPicture}>
                PiP
              </button>
            </>
          )}
        </StreamTheme>
      </StreamCall>
    </StreamVideo>
  );
}
You’ve probably also noticed that the participant’s audio elements are still mounted in the parent window while the layout in the PiP window is muted. We do this because autoplaying audio without user interaction is usually not allowed by browsers. And since we get a brand new window every time we request PiP, it may have no user interaction and no audio. Keeping the audio in the parent window avoids this problem.
Going Picture-in-Picture Automatically
It’s also possible to automatically enable PiP every time the user leaves the
tab of your application using the Media Session API. To do this, we need to
register an action handler for the enterpictureinpicture action.
Note that this API only works if the page is actively using a camera or
microphone and is served over HTTPS. This last part makes local testing a bit
tricky. If you’re using Vite, consider
@vitejs/plugin-basic-ssl.
If you’re using Next.js, try the
--experimental-https
option.
The great thing is that when the PiP window is created by the
enterpictureinpicture action handler, it’s automatically closed when the user
returns to your app’s tab. So there really isn’t much code to add:
useEffect(() => {
navigator.mediaSession.setActionHandler(
"enterpictureinpicture",
handlePictureInPicture,
);
return () => {
navigator.mediaSession.setActionHandler("enterpictureinpicture", null);
};
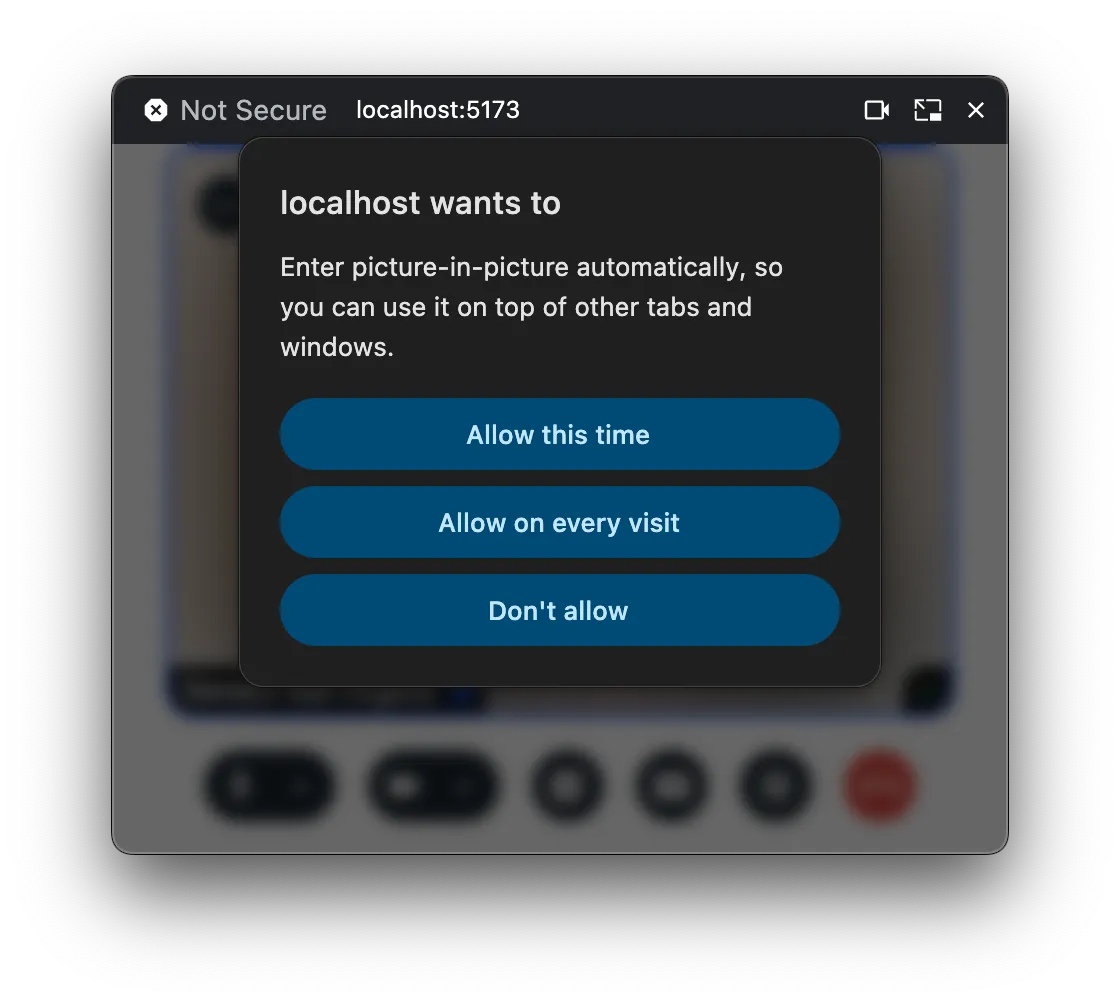
}, []);The first time you switch to another tab or window, you’ll see a prompt asking if you want to enable automatic picture-in-picture.
Final Thoughts
We’ve implemented the picture-in-picture UI using the new Document Picture-in-Picture API. Keep in mind that this API is still in early stages and only supported by Chrome-based browsers. But as long as you don’t forget about support detection, this API gives you much more flexibility in building a PiP experience, so it’s worth experimenting with.