Overview
In the previous lesson, you learned how to obtain a MediaStream from your available devices. Now, let's take the next step and create an HTML page that empowers you to select the display you wish to share, along with some user interface components to facilitate the screensharing process.
First, create an index.html HTML file that contains a screen sharing button.
            <!DOCTYPE html>
<html>
<head>
    <meta charset="utf-8">
    <meta name="viewport" content="width=device-width, user-scalable=yes, initial-scale=1, maximum-scale=1">
    <meta id="theme-color" name="theme-color" content="#ffffff">

    <title>Screensharing</title>

    <link rel="stylesheet" href="./css/main.css">
    <link rel="stylesheet" href="https://fonts.googleapis.com/icon?family=Material+Icons">
    <link rel="stylesheet" href="https://code.getmdl.io/1.3.0/material.indigo-blue.min.css">
    <script defer src="https://code.getmdl.io/1.3.0/material.min.js"></script>
</head>

<body>

<div id="container">
    <h4><a href="https://github.com/GetStream/webrtc-for-the-brave/tree/main/lesson01-4" title="WebRTC for The Brave">
        Screensharing Sample</a> <span>getDisplayMedia</span>
    </h4>

    <video id="gum-local" autoplay playsinline muted></video>

    <button class="mdl-button mdl-js-button mdl-button--raised mdl-js-ripple-effect mdl-button--accent" id="shareButton"
            disabled>Share Screen
    </button>

    <div id="errorMsg"></div>
</div>

<script src="https://webrtc.github.io/adapter/adapter-latest.js"></script>
<script src="js/main.js"></script>

<script src="../../../js/lib/ga.js"></script>

</body>
</html>
Complete the screensharing
Having successfully created a screensharing page, it's now time to integrate the HTML page with the necessary scripts for screensharing. To get started, add an event listener for the start button as shown below:
            'use strict';

const shareButton = document.getElementById('shareButton');

shareButton.addEventListener('click', () => {
    navigator.mediaDevices.getDisplayMedia({audio: true, video: true})
        .then(shareScreen, onCatch);
});
As you can see the above code, you can add an event listener to detect click event from user and handle them with the shareScreen and onCatch functions.
Now let’s complete the shareScreen and onCatch functions to set video source and handle error cases.
            function shareScreen(stream) {
    shareButton.disabled = true;

    const video = document.querySelector('video');
    video.srcObject = stream;

    stream.getVideoTracks()[0].addEventListener('ended', () => {
        shareButton.disabled = false;
    });
}

// Function to handle errors during media stream acquisition
function onCatch(error) {
    const errorElement = document.querySelector('#errorMsg');
    errorElement.innerHTML += `<p>Something went wrong: ${error.name}</p>`;
}

if ((navigator.mediaDevices && 'getDisplayMedia' in navigator.mediaDevices)) {
    shareButton.disabled = false;
}
As demonstrated in the example above, once you have selected an available media stream, it will be set as the video source.
Additionally, by incorporating an ended event listener to the video track, you can effectively detect whether the screensharing session was terminated by the user or not.
Running the WebRTC demo application
Now it’s time to run the demo application. If you execute the index.html file, you will see the demo below:
If you click the Start button, you’ll able to see the window selector that allows you to choose which screen should be sharing:

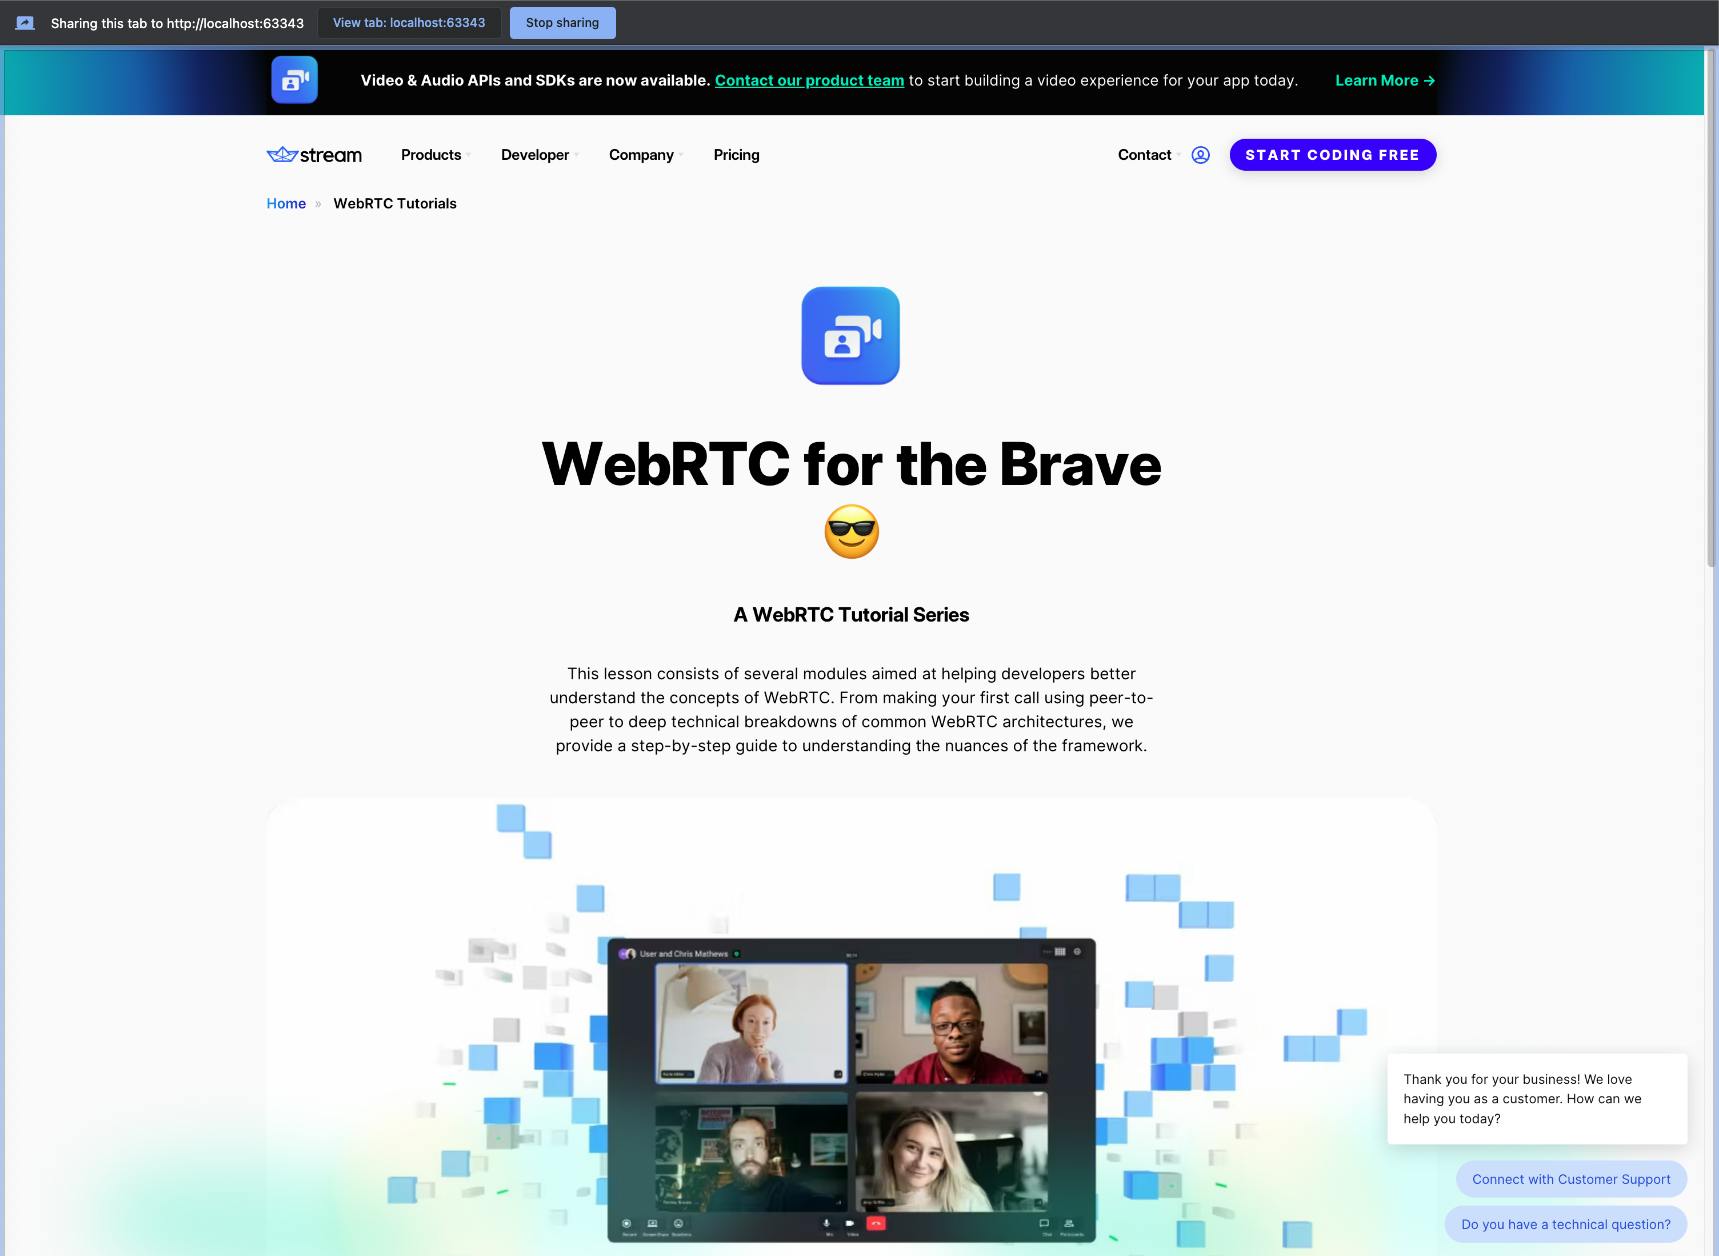
Next, if you click the Share button on the window, your screen will be shared as shown below:

This tutorial concludes how to share your screens with available options.
Note: You can demonstrate and test the sample application about Screensharing on your web browser without building the project.