How To Create a Data Transmitting Page
You’ve covered how to transmit data between peers using RTCDataChannel . Now let’s create a data transmitting page that allows you to transmit a plain text by clicking a button.
First, create an index.html HTML file that contains three buttons, start, send, and close with two text areas:
            <div id="container">
    <h1><a homepage="" href="https://github.com/GetStream/webrtc-for-the-brave" samples="" title="WebRTC">WebRTC samples</a> <span>Transmit text</span></h1>

    <div id="buttons">
        <button id="startButton">Start</button>
        <button disabled="disabled" id="sendButton">Send</button>
        <button disabled="disabled" id="closeButton">Stop</button>
    </div>

    <div id="sendReceive">
        <div id="send">
            <h2>Send</h2>
            <textarea disabled="disabled" enter="" id="dataChannelSend" placeholder="Press" press="" send.="" some="" start="" text="" then=""></textarea>
        </div>
        <div id="receive">
            <h2>Receive</h2>
            <textarea disabled="disabled" id="dataChannelReceive"></textarea>
        </div>
    </div>
</div>
Next, you should import an additional script, adapter-latest.js. The adapter.js is a shim to insulate apps from spec changes and prefix differences. Also, you can add the css file for decorating your components:
            <meta charset="utf-8"></meta>
    <meta content="width=device-width," initial-scale="1," maximum-scale="1" name="viewport" user-scalable="yes,"></meta>
    <meta content="#ffffff" id="theme-color" name="theme-color"></meta>

    <title>Transmit text</title>

    <link href="css/main.css/" rel="stylesheet"></link>

   ..

<script src="https://webrtc.github.io/adapter/adapter-latest.js"></script>
<script async="" src="js/main.js"></script>
Complete a peer connection
You’ve implemented a data transmitting page, and now it’s time to combine the page and and RTCDataChannel . First, add the elements that you’ve added on the index.html file.
            const dataChannelSend = document.querySelector('textarea#dataChannelSend');
const dataChannelReceive = document.querySelector('textarea#dataChannelReceive');
const startButton = document.querySelector('button#startButton');
const sendButton = document.querySelector('button#sendButton');
const closeButton = document.querySelector('button#closeButton');

startButton.onclick = createConnection;
sendButton.onclick = sendData;
closeButton.onclick = closeDataChannels;
Now, let’s go back to your main.js file’s createConnection function and combine the data transmitting and elements:
            function createConnection() {
  dataChannelSend.placeholder = '';
  localConnection = new RTCPeerConnection();

  sendChannel = localConnection.createDataChannel('sendDataChannel');

  localConnection.onicecandidate = e => {
    onIceCandidate(localConnection, e);
  };
  sendChannel.onopen = onSendChannelStateChange;
  sendChannel.onclose = onSendChannelStateChange;

  remoteConnection = new RTCPeerConnection();

  remoteConnection.onicecandidate = e => {
    onIceCandidate(remoteConnection, e);
  };
  remoteConnection.ondatachannel = receiveChannelCallback;

  localConnection.createOffer().then(
      gotDescription1,
      onCreateSessionDescriptionError
  );
  startButton.disabled = true;
  closeButton.disabled = false;
}

function onCreateSessionDescriptionError(error) {
  console.log('Failed to create session description: ' + error.toString());
}
Lastly, add some elements cleaning codes inside the closeDataChannels() method like the one below:
            function closeDataChannels() {
  sendChannel.close();
  receiveChannel.close();
  localConnection.close();
  remoteConnection.close();
  localConnection = null;
  remoteConnection = null;
  startButton.disabled = false;
  sendButton.disabled = true;
  closeButton.disabled = true;
  dataChannelSend.value = '';
  dataChannelReceive.value = '';
  dataChannelSend.disabled = true;
  disableSendButton();
  enableStartButton();
}
Running the WebRTC demo application
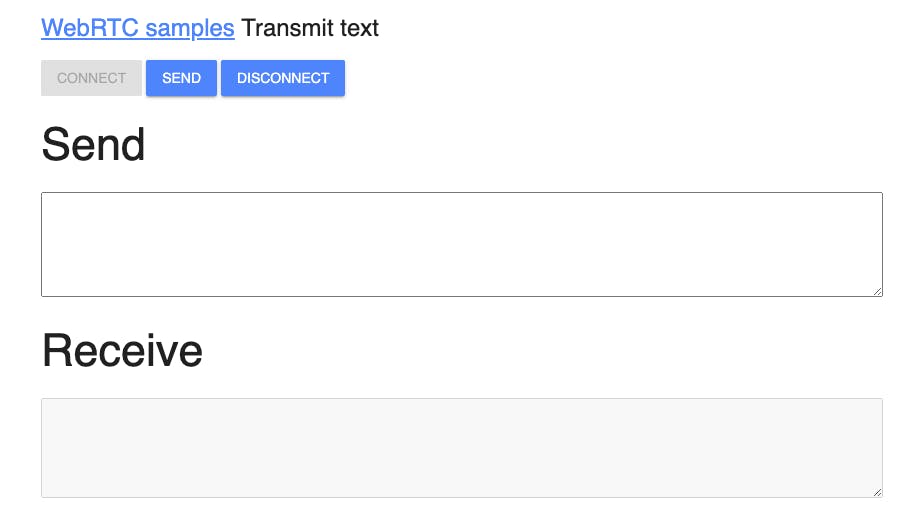
Now it’s time to run the demo application. If you execute the index.html file, you will see the demo below:
If you click the Connect button, Send and Disconnect buttons will be enabled like the image below:

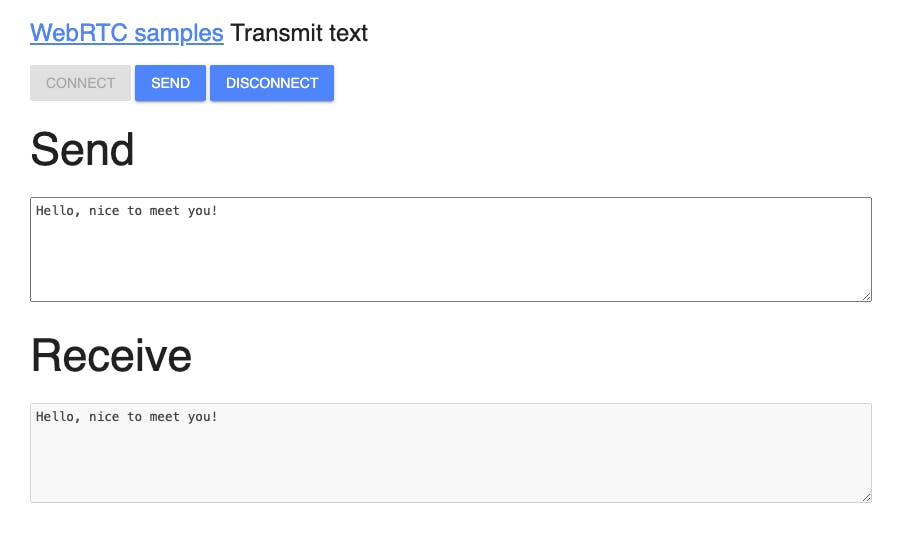
Type some text messages and if you click the Send button, you’ll be able to see the Receive text area gets the message you just sent like the image below:

This tutorial concludes how to connect peer connections, transmitting messages via the data channel on the same computer and the browser.
Note: You can demonstrate and test the sample application about Transmit Text Data on your web browser without building the project.